You can edit the CRM sitemap XML using 2 methods:
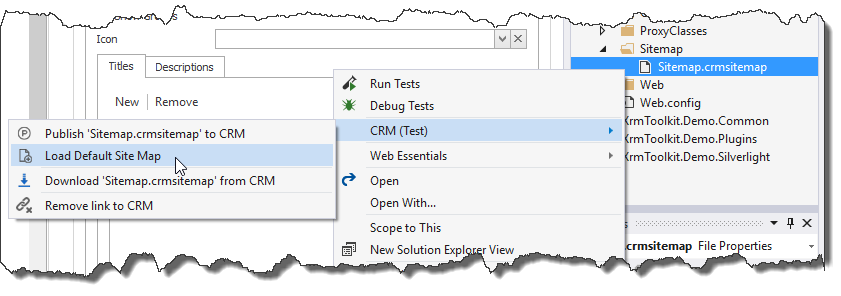
To invoke the sitemap editor, you can use the menu item found in the solution context menu in Visual Studio:

You can alternatively download the sitemap XML when adding items to your project. This gives the added benefit of being able to add it to your source control system.
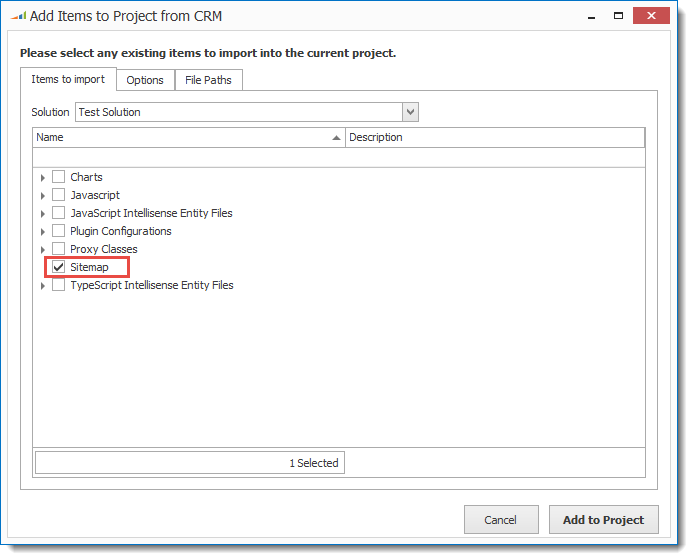
The file will now be added to your project. To learn more about the download process see the documentation here.
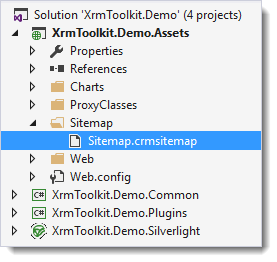
After the sitemap is in your Visual Studio project, simply double click it to open up the sitemap editor. It may take several seconds to open up since it is downloading images and other information from CRM.

To understand all the configuration options for the sitemap it is best to refer to the official Microsoft documentation found here: Site Map XML Reference
You can add or remove nodes by pressing on the appropriate buttons above the navigation area
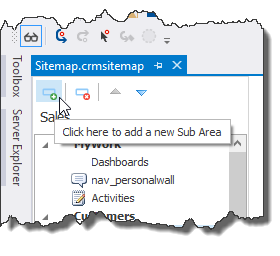
You can switch the order in which items appear by selecting the particular item and either dragging and dropping it to the new location, or by using the arrows at the top of the navigation area.

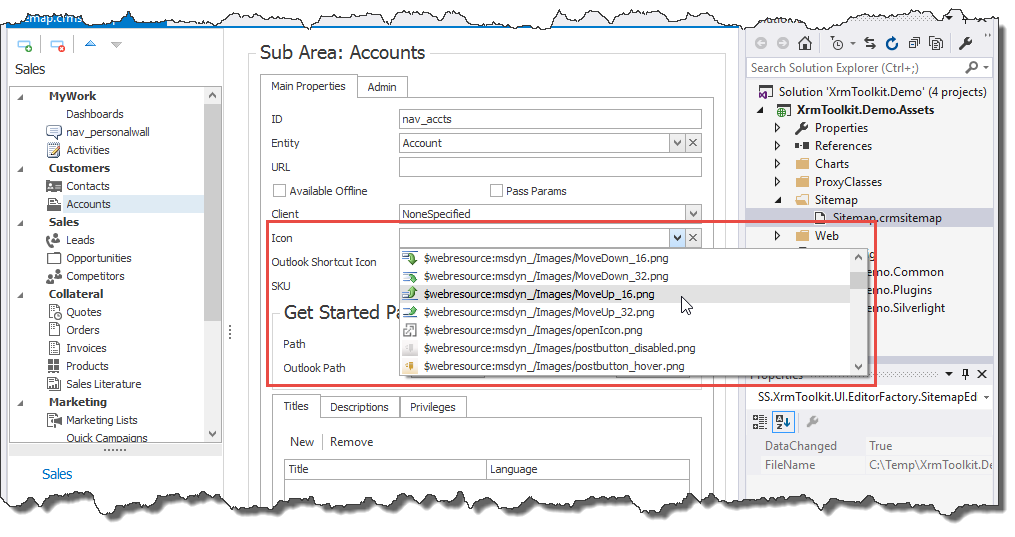
To change the navigation image associated with a navigation link simply choose another icon from the 'Icon' dropdown.
When you are finished editing the sitemap, you must save the changes in order to publish the sitemap to CRM. To publish the sitemap simply right-click on the sitemap in the solution explorer and choose the 'Publish Sitemap file to CRM' button from the context menu.
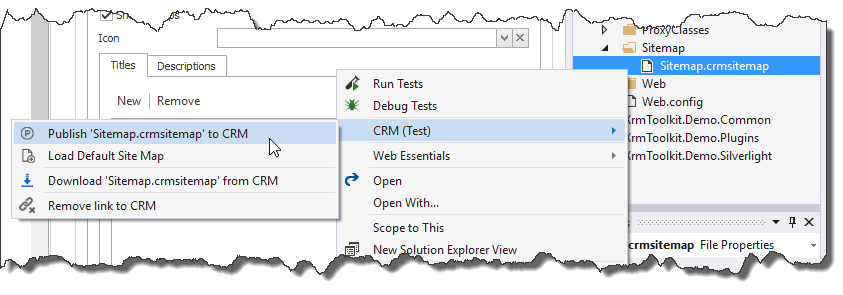
If you need to revert to the default CRM sitemap you may do so by selecting the 'Load Default Site Map' button from the context menu.