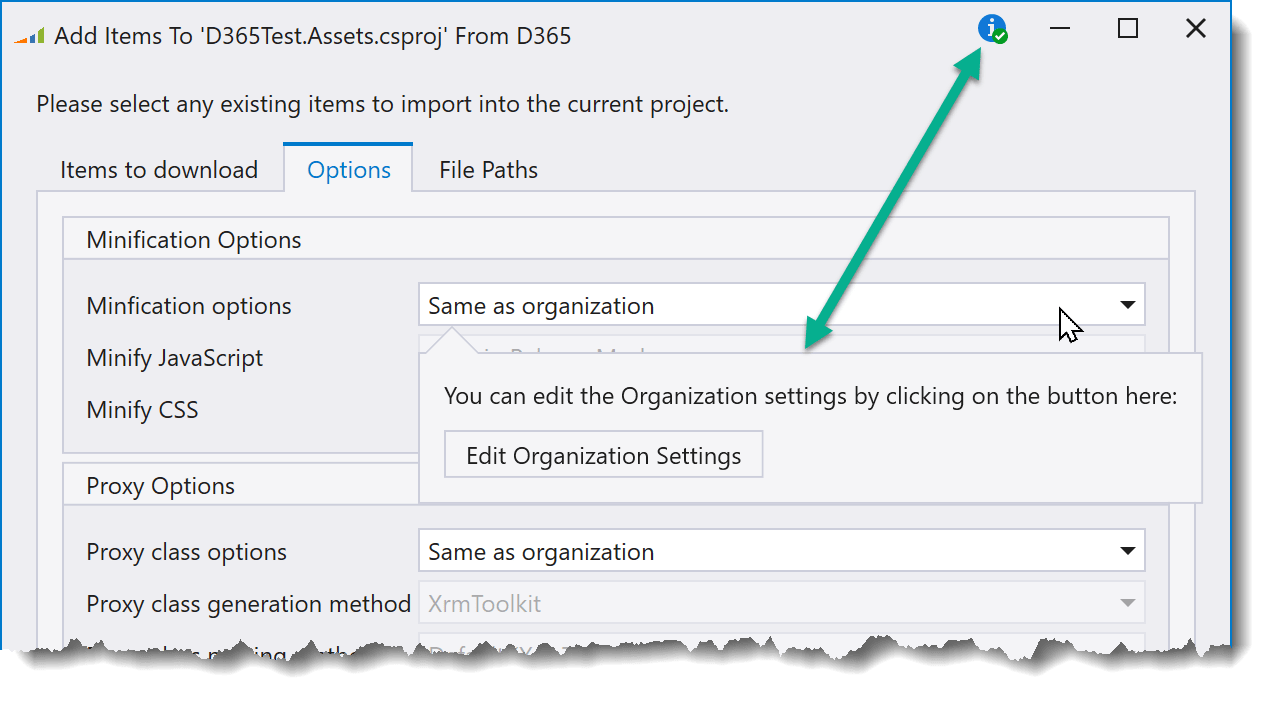
XrmToolkit makes it easy for you to create and use your own custom 'INamingService' for generating proxy classes.
Whether you use the 'CrmSvcUtil' or 'XrmToolkit' generation methods, you can choose to use your own 'INamingService' to either completely change or slightly tweak the way that XrmToolkit generates the names for your classes and properties.
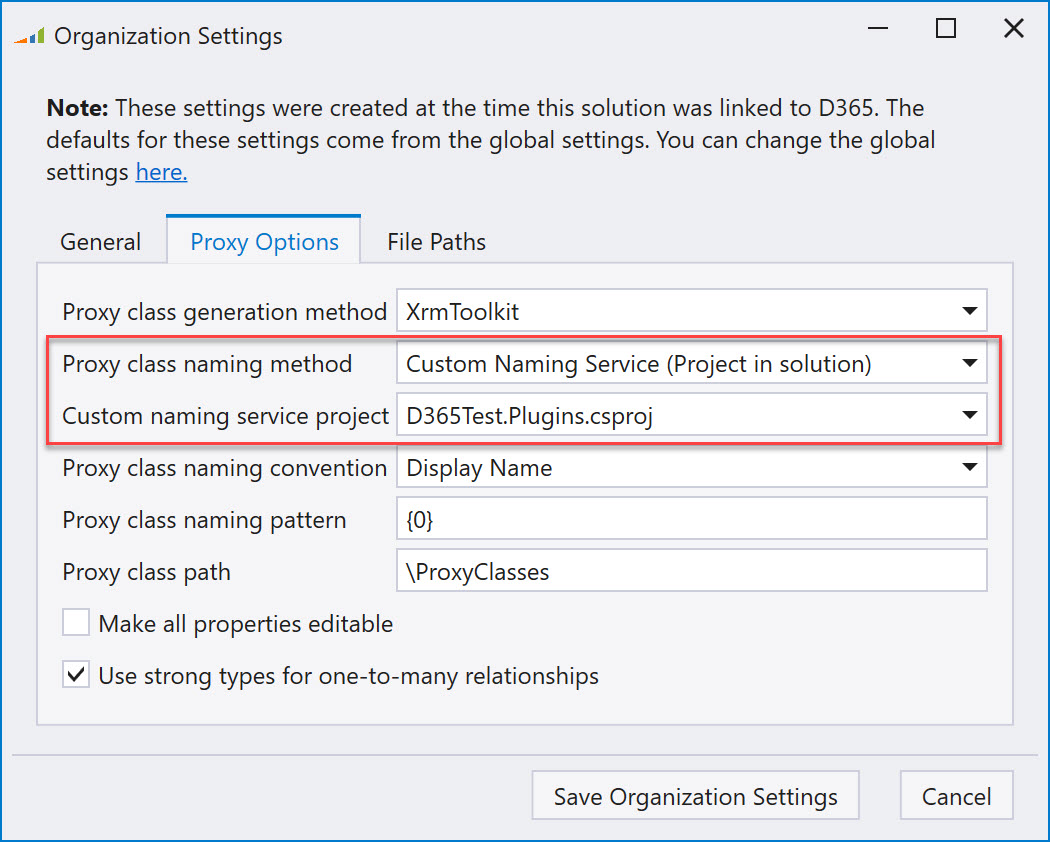
You can choose to reference a project in the current solution or an external dll that contains your implementation of the 'INamingService'.
XrmToolkit v4 came with the release of a new LINQ query provider that contained some great improvements over the query provider included in the SDK. Unforunately it also came with the limitation of only being able to run outside of the Sandbox, which meant that it could only be used in custom applications or D365 on premise. We're happy to announce that with v7, the LINQ query provider has been completely overhauled to allow being deployed to the D365 Sandbox. It also includes many more improvements such as:
Ability to use column comparison. Microsoft documentation here.
// Compare the 'Actual Revenue' to the 'Budget Amount'
var opportunities = this.Service.Queryable<Opportunity>()
    .Where(x => x.ActualRevenue > x.BudgetAmount)
    .ToList();
Query hierarchical data. Microsoft documentation here.
Supported operators are: Above, AboveOrEqual, Under, UnderOrEqual, NotUnder, OwnedByMeOrMyReports, OwnedByMeOrMyReportsAndTeams
// Retrieve a list of accounts that are owned by me or my reports.
var opportunities = this.Service.Queryable<Account>()
    .Where(x => x.Owner.OwnedByMeOrMyReports())
    .ToList();
Query by fiscal periods
Supported fiscal operations are: LastFiscalYear, ThisFiscalYear, NextFiscalYear, LastFiscalPeriod, ThisFiscalPeriod, NextFiscalPeriod, InFiscalYear, InFiscalPeriod, InFiscalPeriodAndYear, InOrBeforeFiscalPeriodAndYear, InOrAfterFiscalPeriodAndYear, LastXFiscalPeriods, LastXFiscalYears, NextXFiscalPeriods, NextXFiscalYears
// Retrieve a list of opportunities that closed in the current fiscal period
var opportunities = this.Service.Queryable<Opportunity>()
    .Where(x => x.ActualCloseDate.Value.ThisFiscalPeriod())
    .ToList();
Query dates by time periods
Supported time periods are: LastYear, ThisYear, NextYear, LastMonth, ThisMonth, NextMonth, LastWeek, ThisWeek, NextWeek, Last7Days, Next7Days, Yesterday, Today, Tomorrow, OnOrBefore, OnOrAfter, NotOn, LastXDays, LastXHours, LastXMonths, LastXWeeks, LastXYears, NextXDays, NextXHours, NextXMonths, NextXWeeks, NextXYears, OlderThanXDays, OlderThanXHours, OlderThanXMinutes, OlderThanXMonths, OlderThanXWeeks, OlderThanXYears
// Retrieve a list of opportunities that closed last week
var opportunities = this.Service.Queryable<Opportunity>()
    .Where(x => x.ActualCloseDate.Value.LastWeek())
    .ToList();
Group by time periods (fiscal or regular) and return aggregate data
You can query and group results by time periods and return one or multiple aggregates
Supported periods for grouping: Year, Quarter, Month, Week, Day, Fiscal Period, Fiscal Year
// Retrieve a list of opportunities where the contacts first name is 'Jane', status reason == 'Won', group by the 'Fiscal Period'
// and return the 'FiscalPeriods', 'Count', Sum('ActualRevenue'), Average('ActualRevenue'), Sum('EstimatedRevenue')
var results = (from o in this.Service.Queryable<Opportunity>()
                join c in this.Service.Queryable<Contact>() on o.Contact.Id equals c.ContactId
                where c.FirstName.Contains("Jane")
                where o.StatusReason == Opportunity_StatusReason.Won
                group o by o.ActualCloseDate.Value.ThisFiscalPeriod() into g
                orderby g.Key ascending
                select new
                {
                    FiscalPeriod = g.Key,
                    Count = g.Count(),
                    TotalRevenue = g.Sum(x => x.ActualRevenue),
                    AverageRevenue = g.Average(x => x.ActualRevenue),
                    TotalEstimatedRevenue = g.Sum(x => x.EstRevenue),
                }).ToList();
Use the 'Between' operator for numeric, money, or datetime columns:
// Retrieve a list of opportunities that closed between 2 dates
var minDate = new DateTime(2020, 1, 1);
var maxDate = new DateTime(2020, 3, 15);
var opportunities = this.Service.Queryable<Opportunity>()
    .Where(x => x.ActualCloseDate.Between(minDate, maxDate))
    .ToList();
'IsNull', 'IsNullOrEmpty'
// Retrieve a list of contacts where the 'Middle Name' is not null or empty
var contacts = this.Service.Queryable<Contact>()
    .Where(x => !string.IsNullOrEmpty(x.MiddleName))
    .ToList();
See what FetchXml is being executed for a query by using the 'ToFetchXml' extension method:
// Get the FetchXml for the query
var minDate = new DateTime(2020, 1, 1);
var maxDate = new DateTime(2020, 3, 15);
var queryFetchXml = this.Service.Queryable<Opportunity>()
    .Where(x => x.ActualCloseDate.Between(minDate, maxDate))
    .ToFetchXml();
FetchXml:
<fetch mapping="logical">
  <entity name="opportunity">
    <attribute name="actualclosedate" />
    <filter type="and">
      <condition attribute="actualclosedate" operator="between">
        <value>1/1/2020 12:00:00 AM</value>
        <value>3/15/2020 12:00:00 AM</value>
      </condition>
    </filter>
  </entity>
</fetch>
Supports the 'ColumnCount' operator with/without the use of the 'Distinct' modifier. Microsoft documentation here.
// Retrieve a count of the distinct states being used in the contacts address.
var contacts = this.Service.Queryable<Contact>()
    .Select(x => x.Address1_State_Province)
    .Distinct()
    .CountColumn();
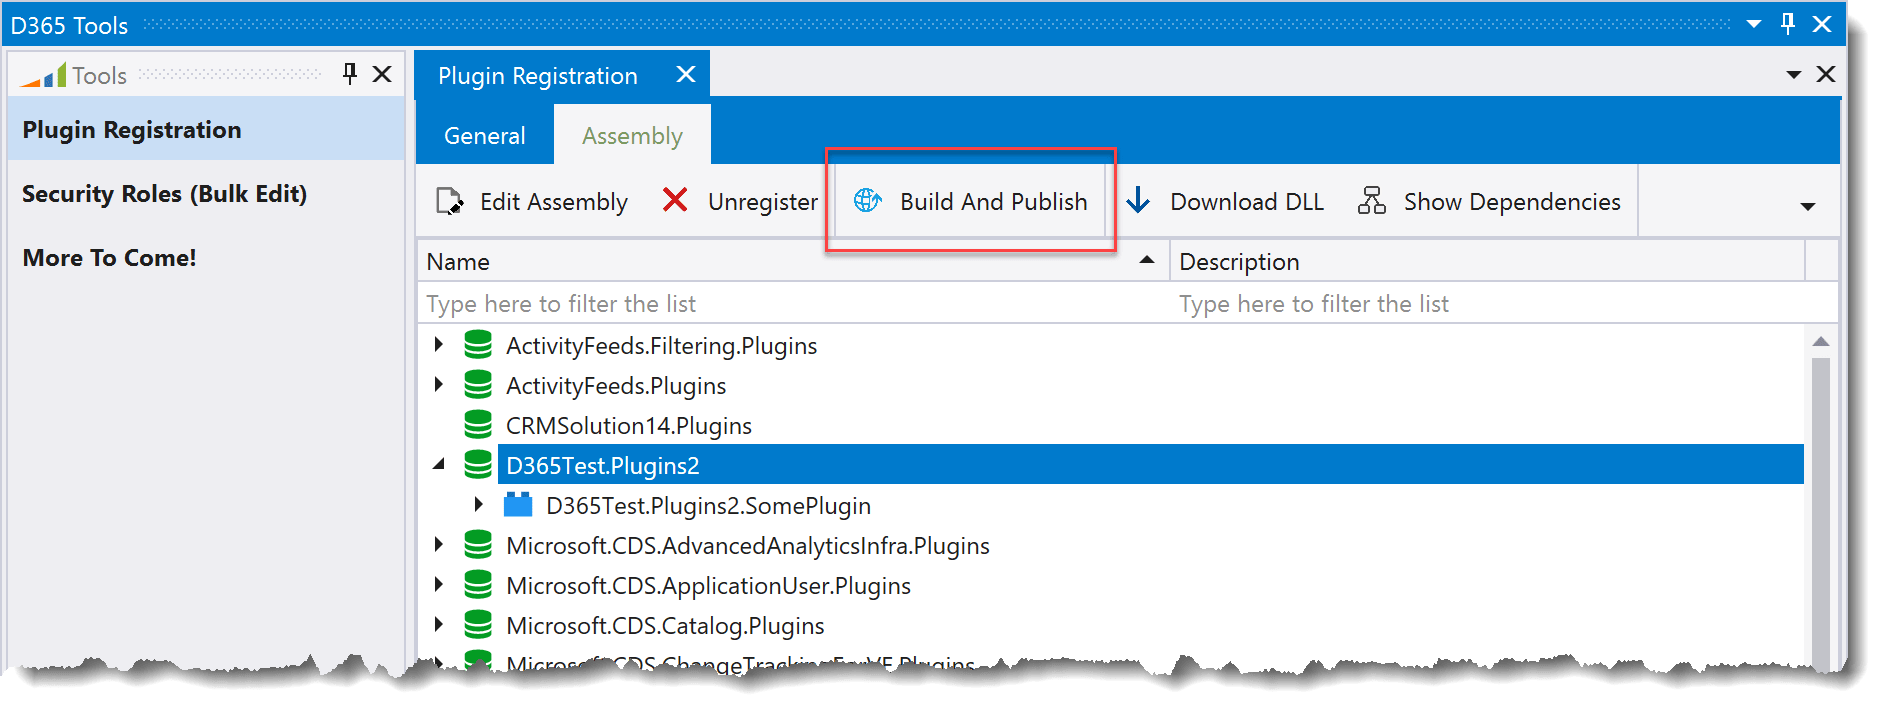
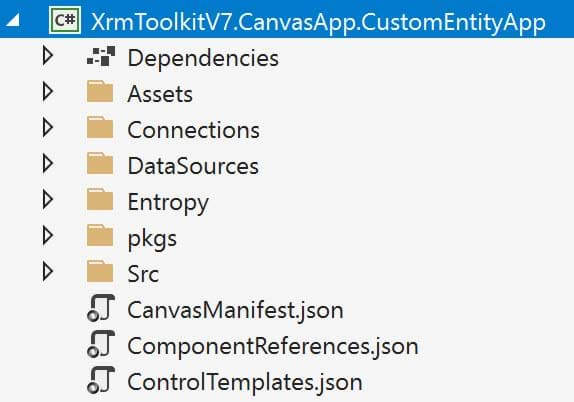
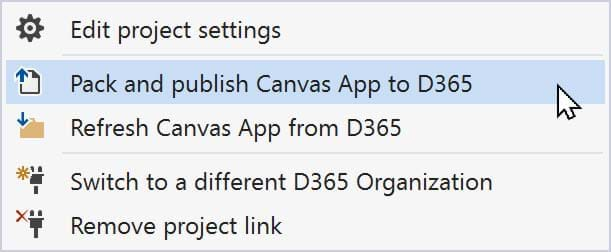
You can now download and extract your Canvas App directly into your Visual Studio solution allowing you to put all the assets under source control. You can also re-pack and publish any changes that were made to any of the assets.

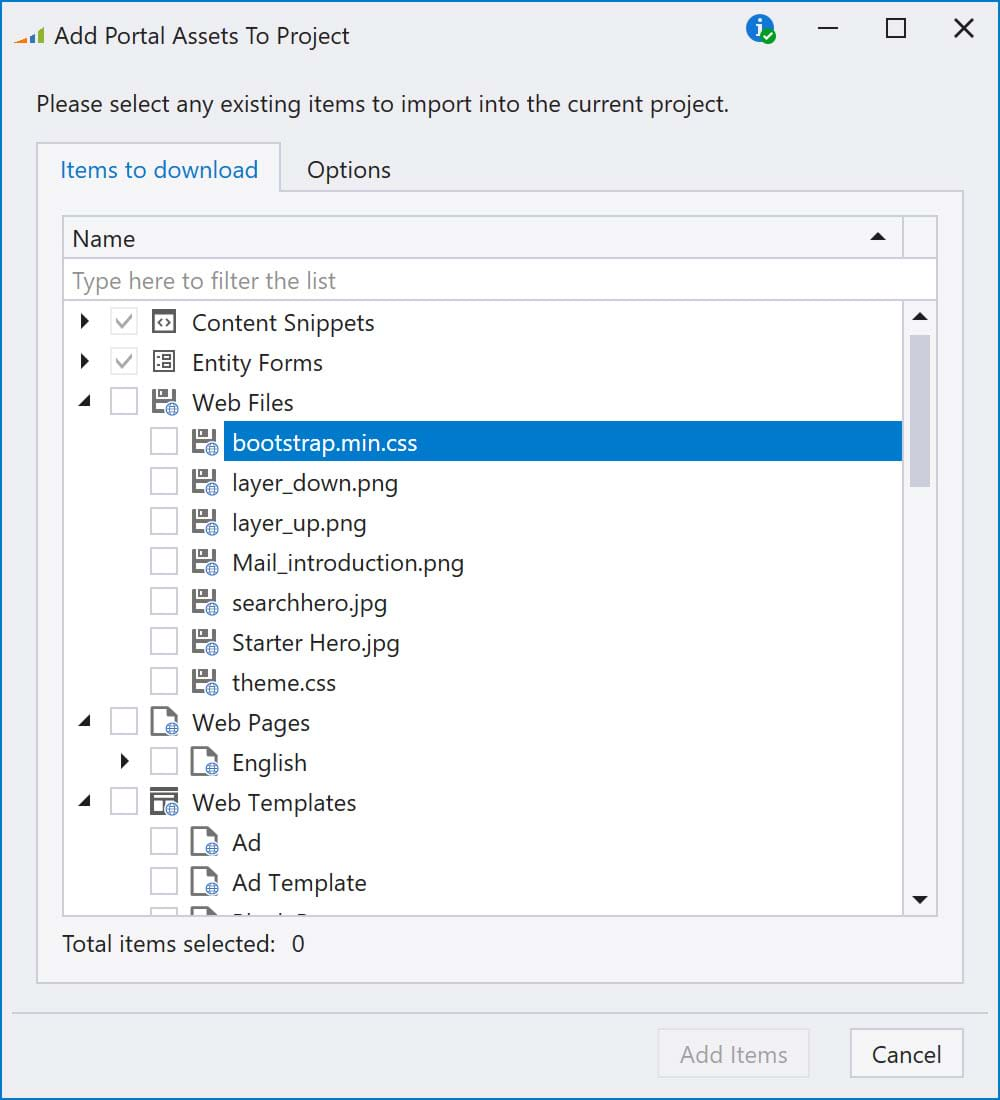
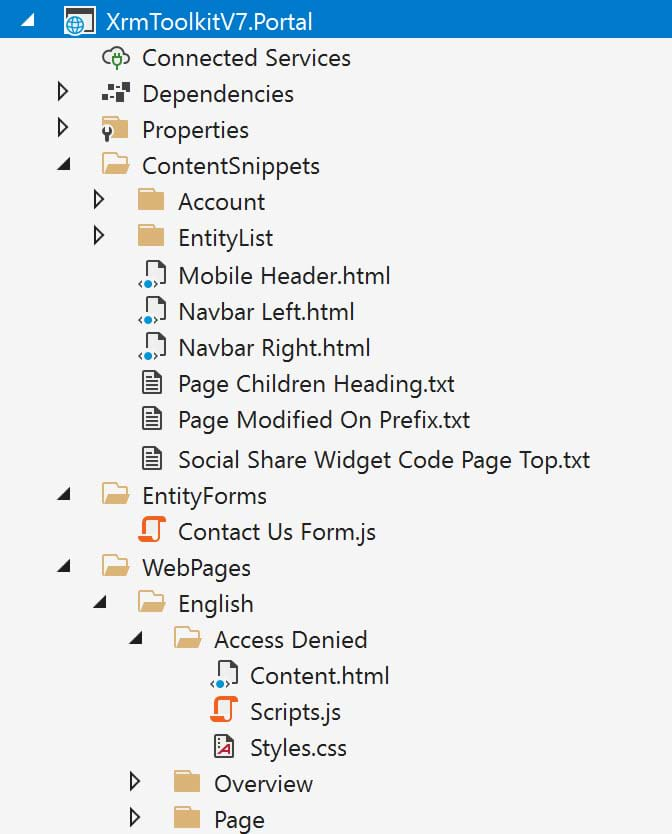
Editing your portal assets has never been easier! You can now download them to a Visual Studio project just like web resources or other Dynamics 365 assets. Simply create a 'New Project from Portal Website', and then select which assets you want to download. All the actions similar to web resources are availabe, ie 'Compare to deployed in D365', 'Download from D365', 'Publish to D365', ability to minify/prettify when publishing/downloading from D365.

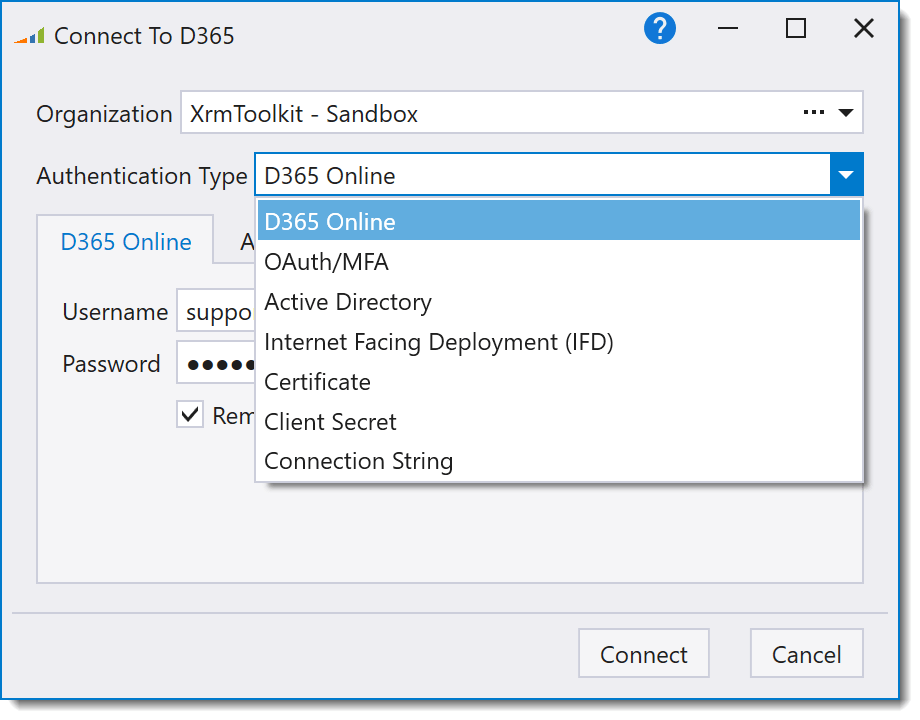
The connection dialog and underlying logic has been re-written to support all of the current authentication methods for D365.
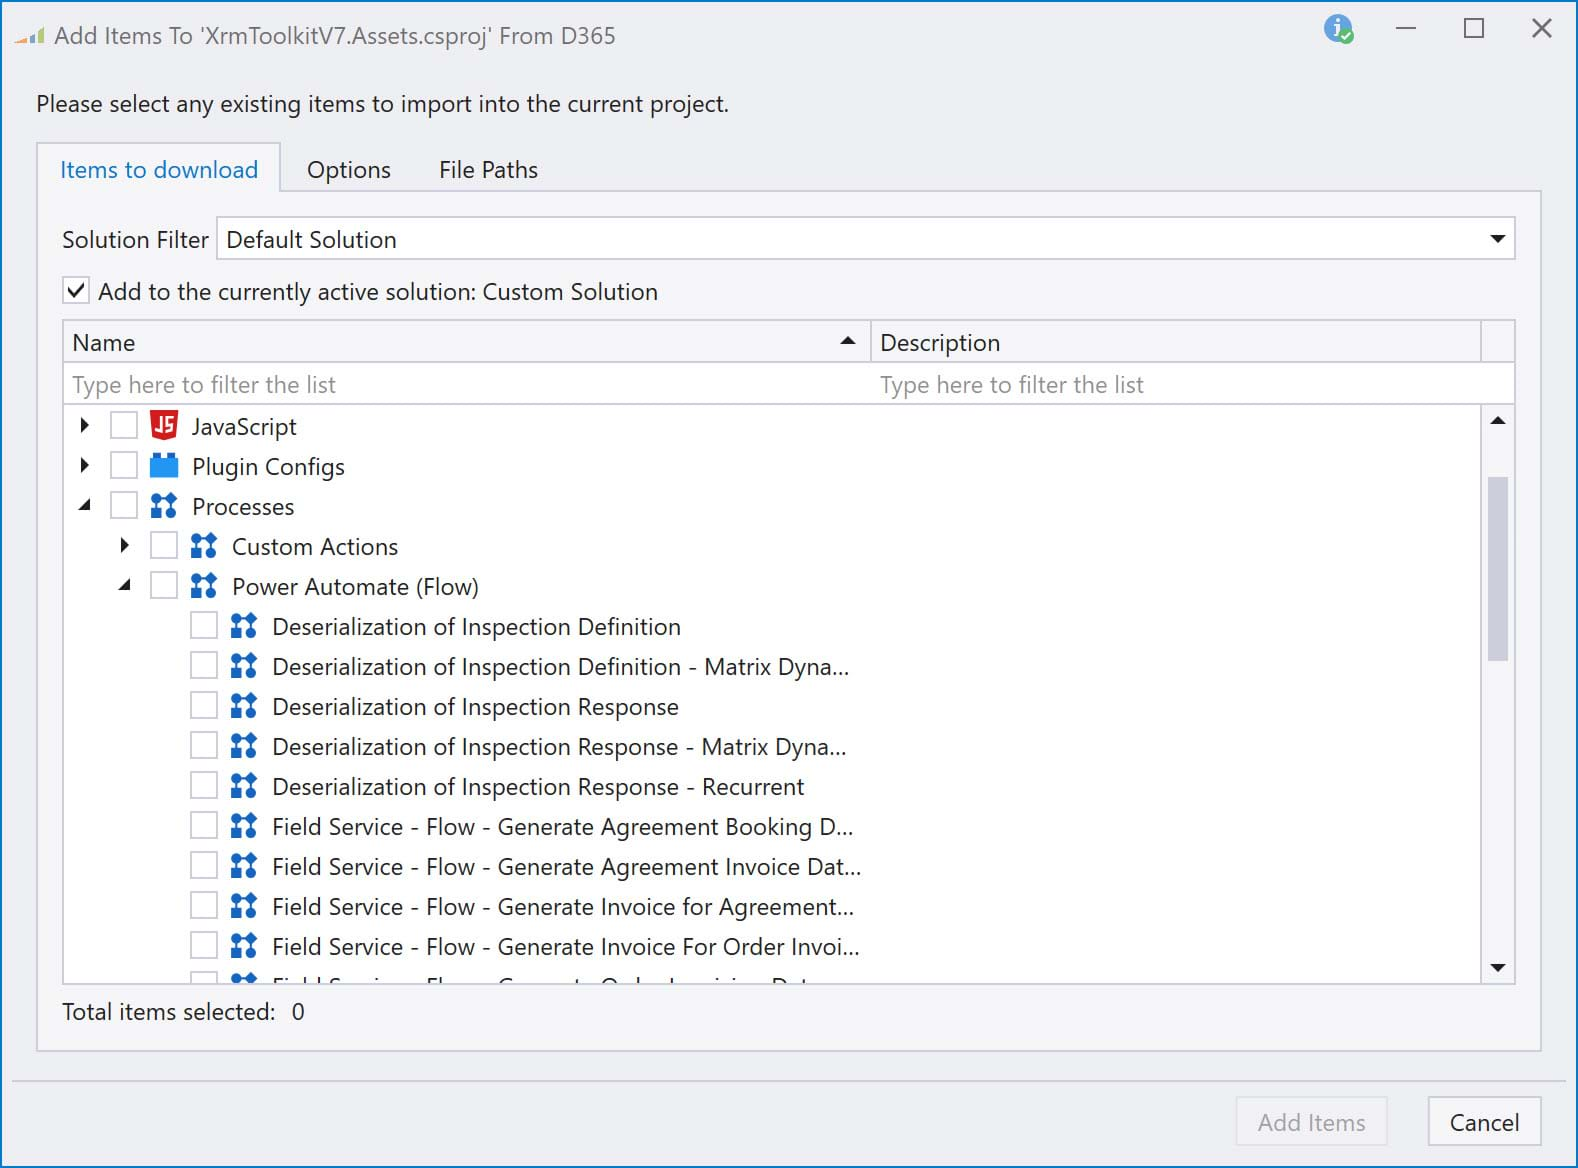
You can download, edit and publish the .json associated with a Power Automate Flow.
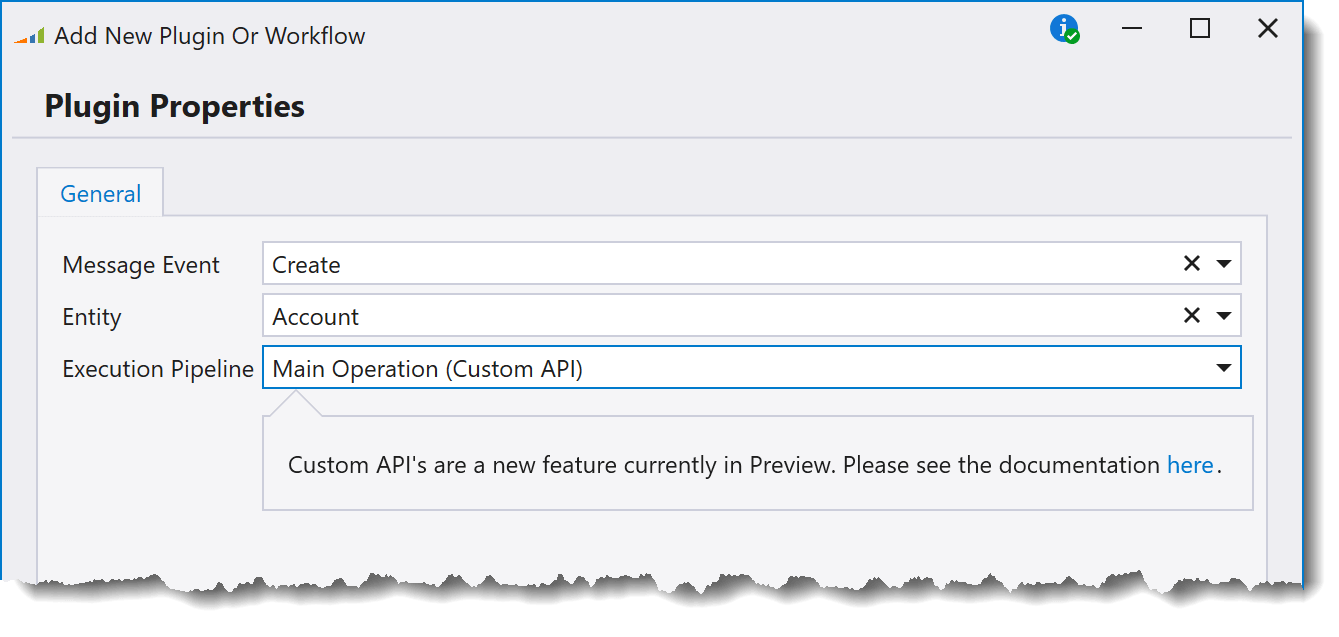
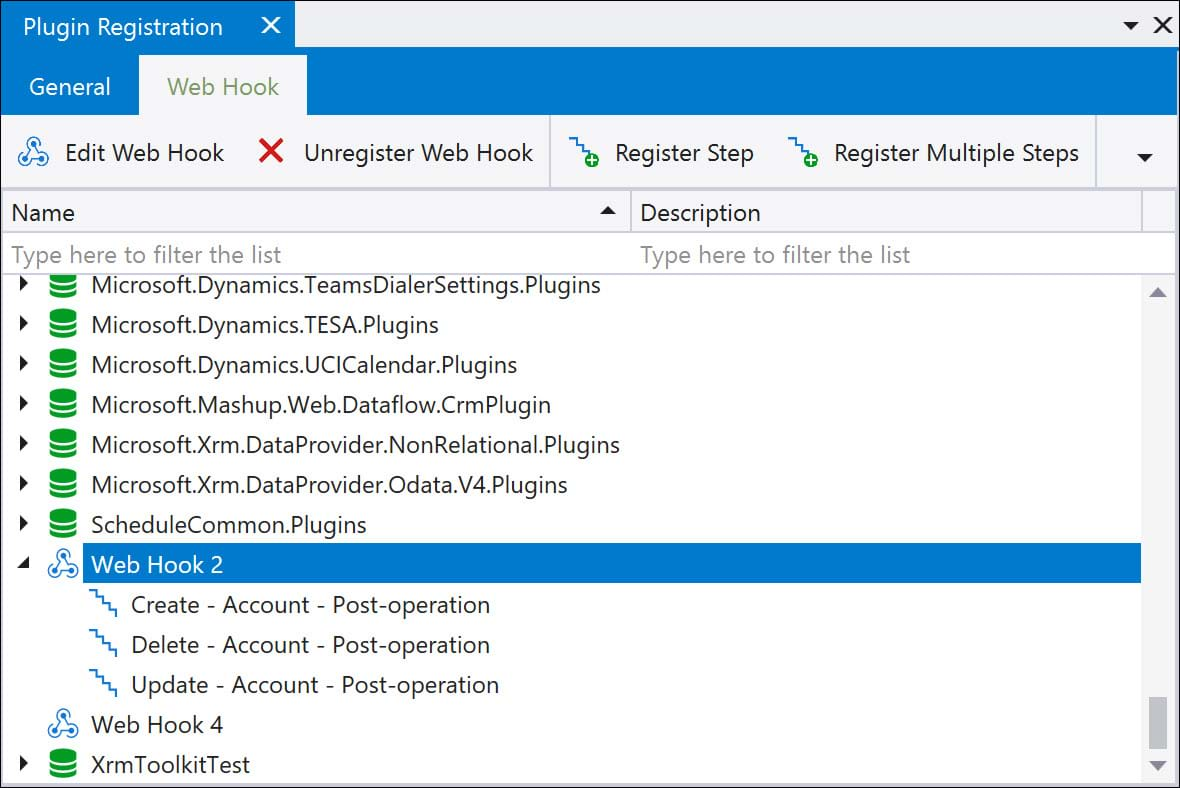
The plugin registration window now supports registering endpoints for web hooks as well as registering steps for them. You can also register multiple steps at once for web hooks similar to registering multiple steps for plugins.
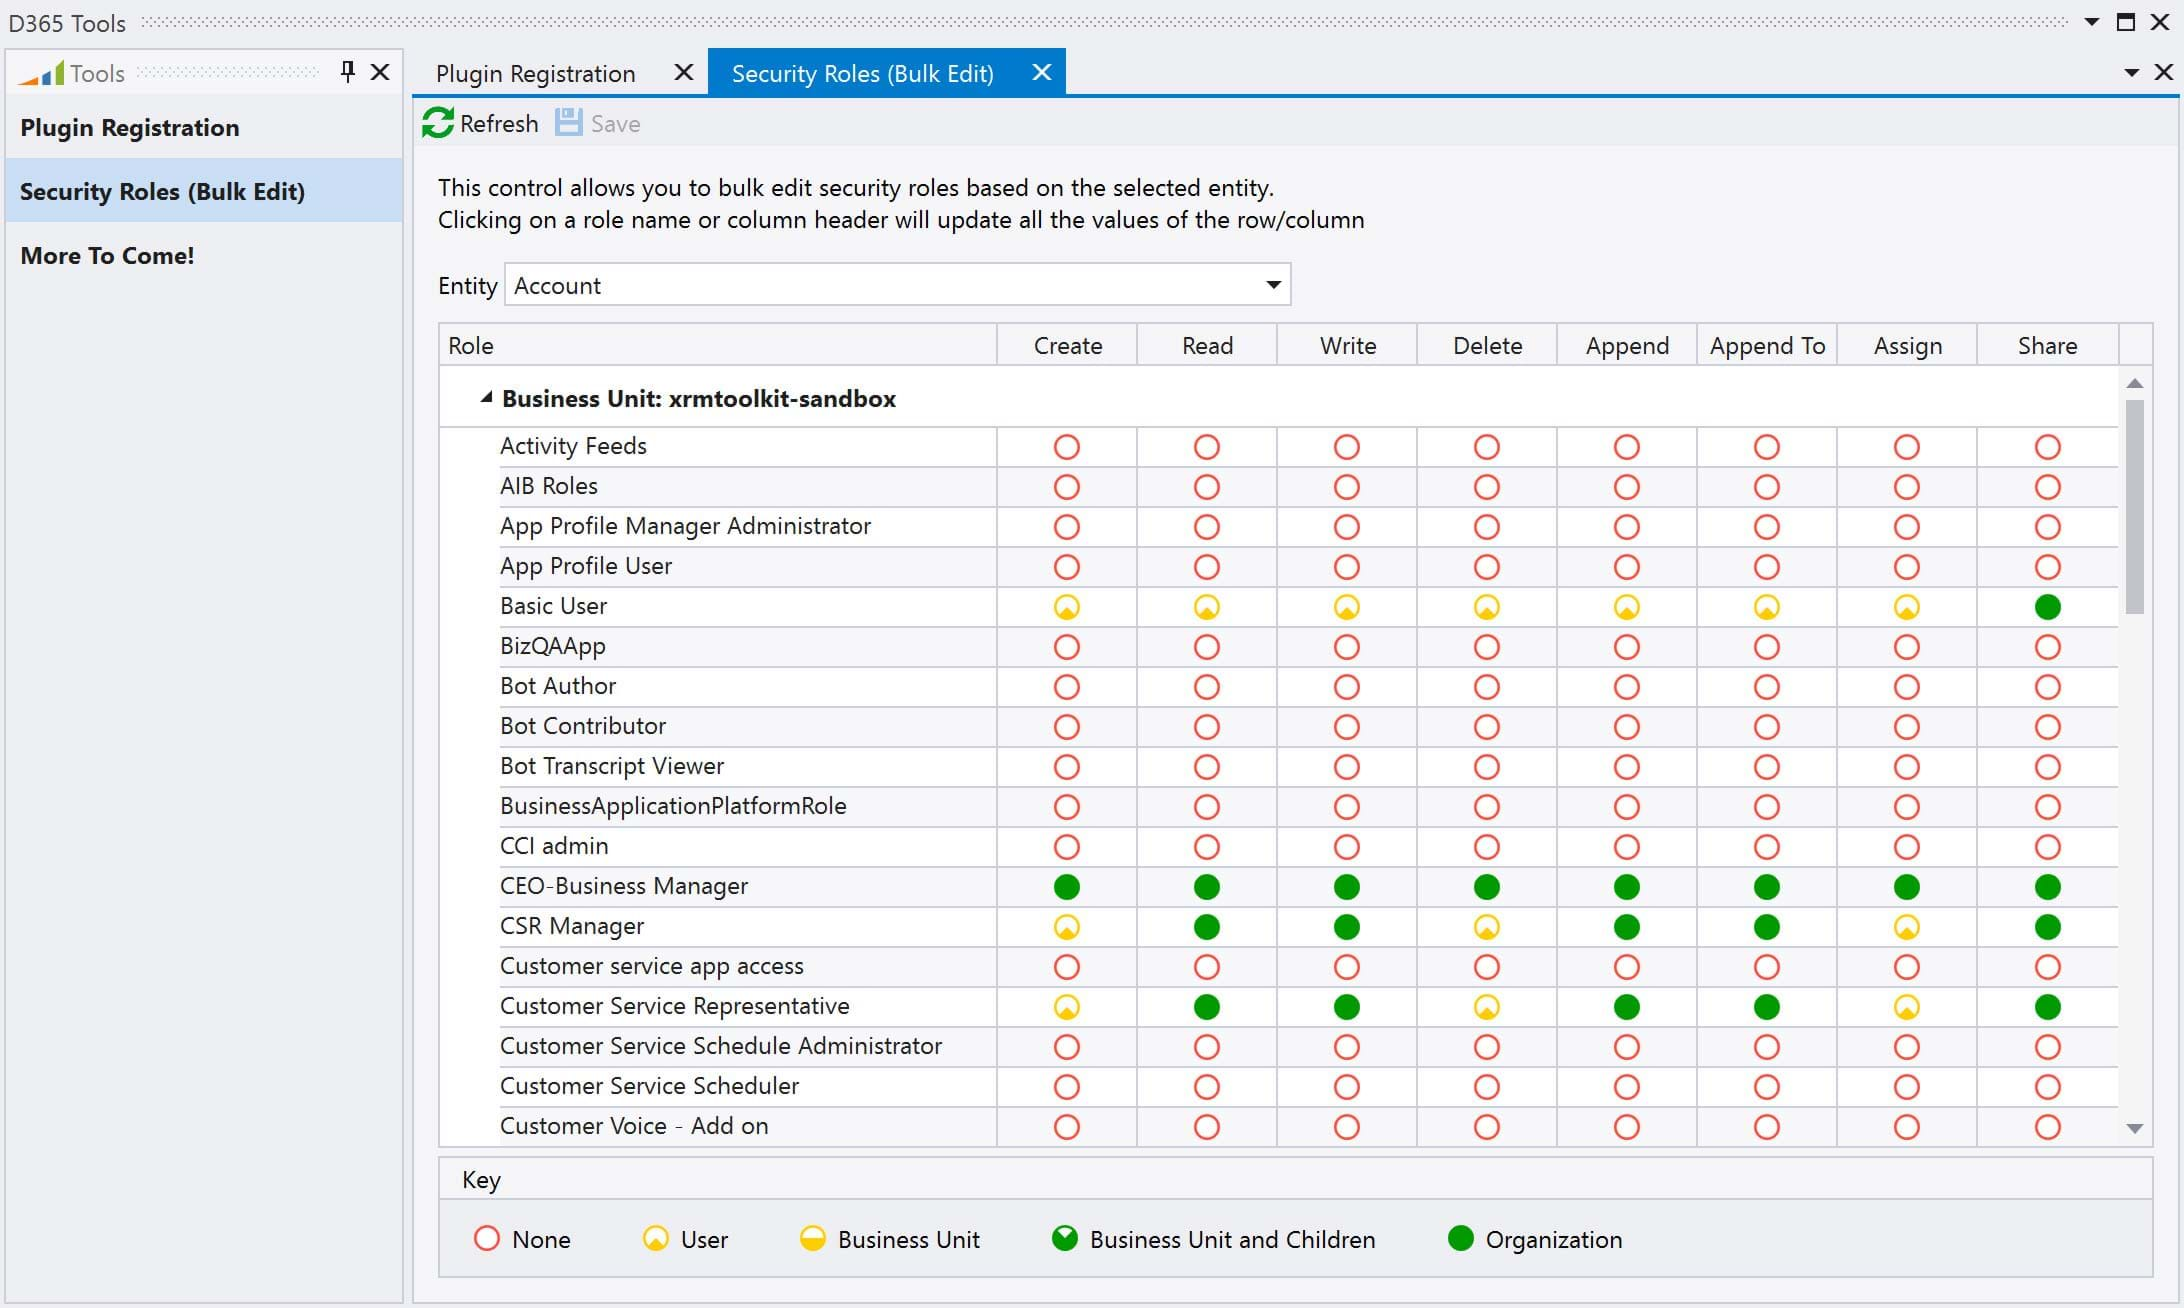
The D365 Tools window is YOUR home for all the tools that help you perform tasks related to your D365 instance. The 'Plugin Registration' and 'Bulk Edit Security' controls have moved to this window with more to come based on YOUR FEEDBACK. Since this is a 'Tool Window', it can be docked/undocked just like any other tool window in Visual Studio.
If you have existing tools or applications that you think could benefit from being integrated into XrmToolkit, please register a new suggestion or vote for an existing one here.
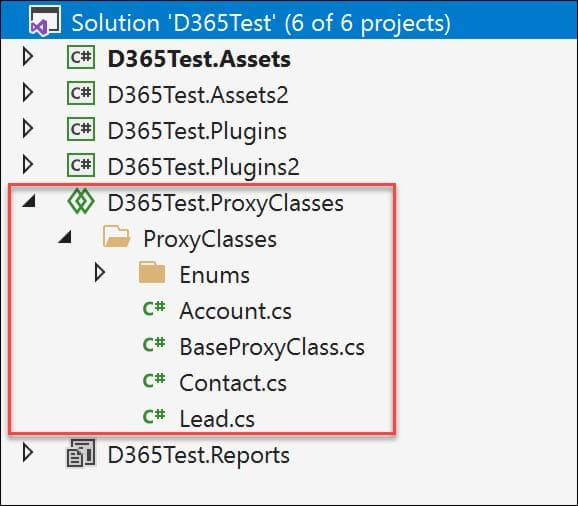
Visual Studio Shared projects and SDK style projects are now supported starting in v7. The default project templates have been updated to the SDK style format.
Besides the new ability to apply your own custom naming service, there are several enhancements to the proxy class generation process including:
// Retrieve a list of accounts with the specified properties
var accounts = this.Service.Queryable<Account>()
    .Select(x => new Account
    {
        Name = x.Name,
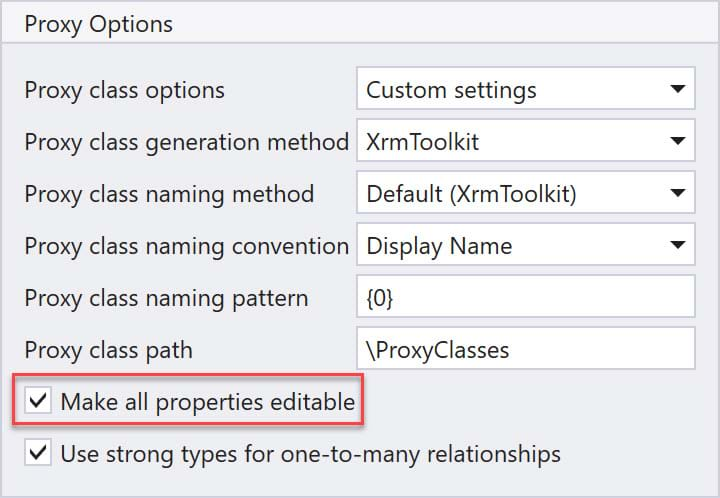
        CreatedOn = x.CreatedOn // Error Here!! Cannot assign a value to a 'ReadOnly' property
        CreatedBy = x.CreatedBy // Error Here!! Cannot assign a value to a 'ReadOnly' property
    })
    .ToList();
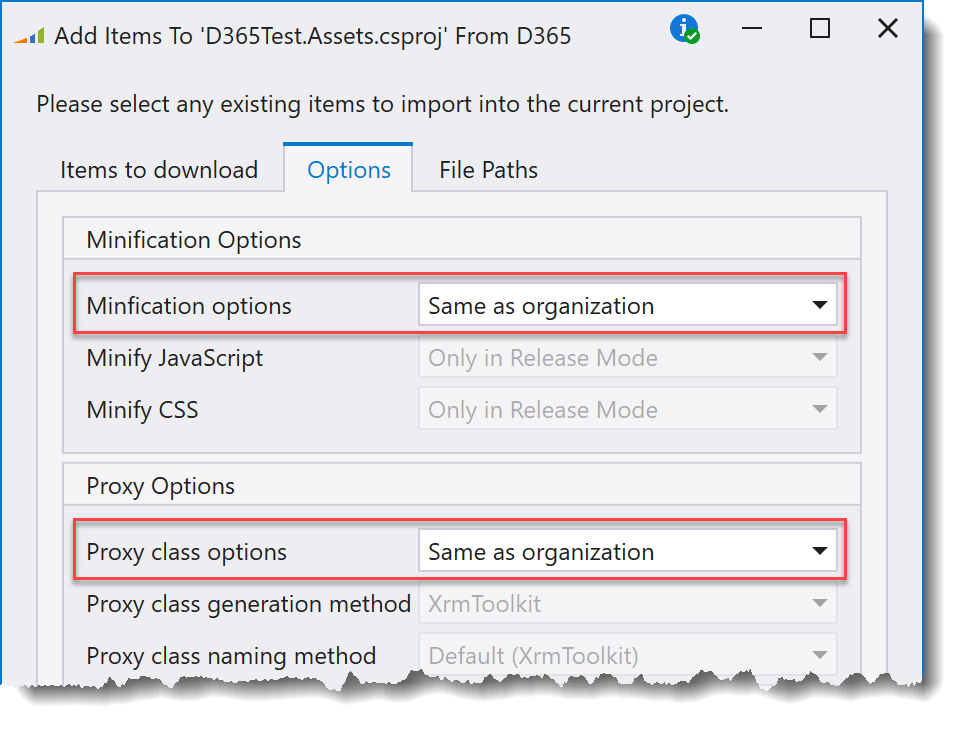
Now, simply set the option when generating the proxy classes:
Previously, XrmToolkit added the Microsoft SDK references to your project as local assembly references. The appropriate major version of the SDK (based on your Organization version) is now added as a NuGet reference:
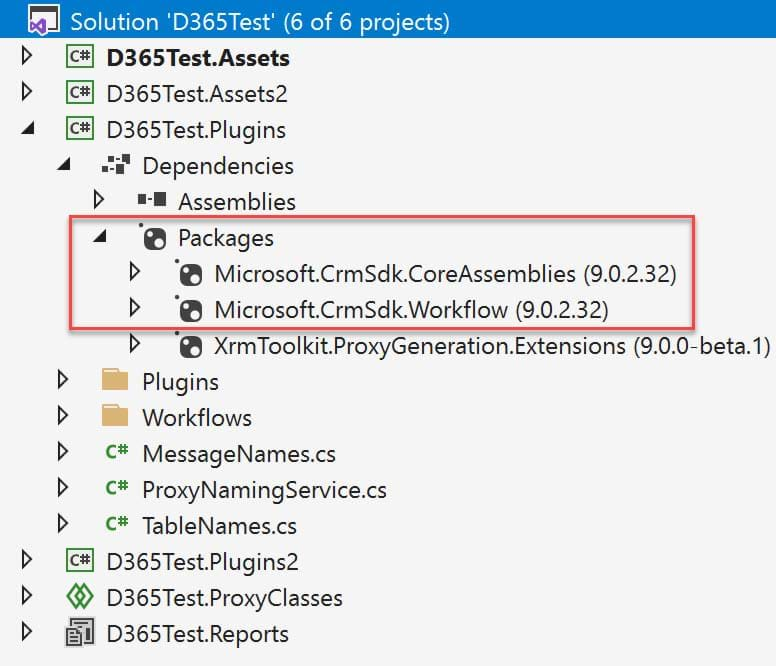
NuGet is the defacto way of adding 3rd party references to your Visual Studio project. The following 2 XrmToolkit packages are now available on NuGet:
Each package has a version specific to the version of the SDK that you use. For example, if you are using v7 of the Microsoft SDK then you should use v7.x of the XrmToolkit.X package.
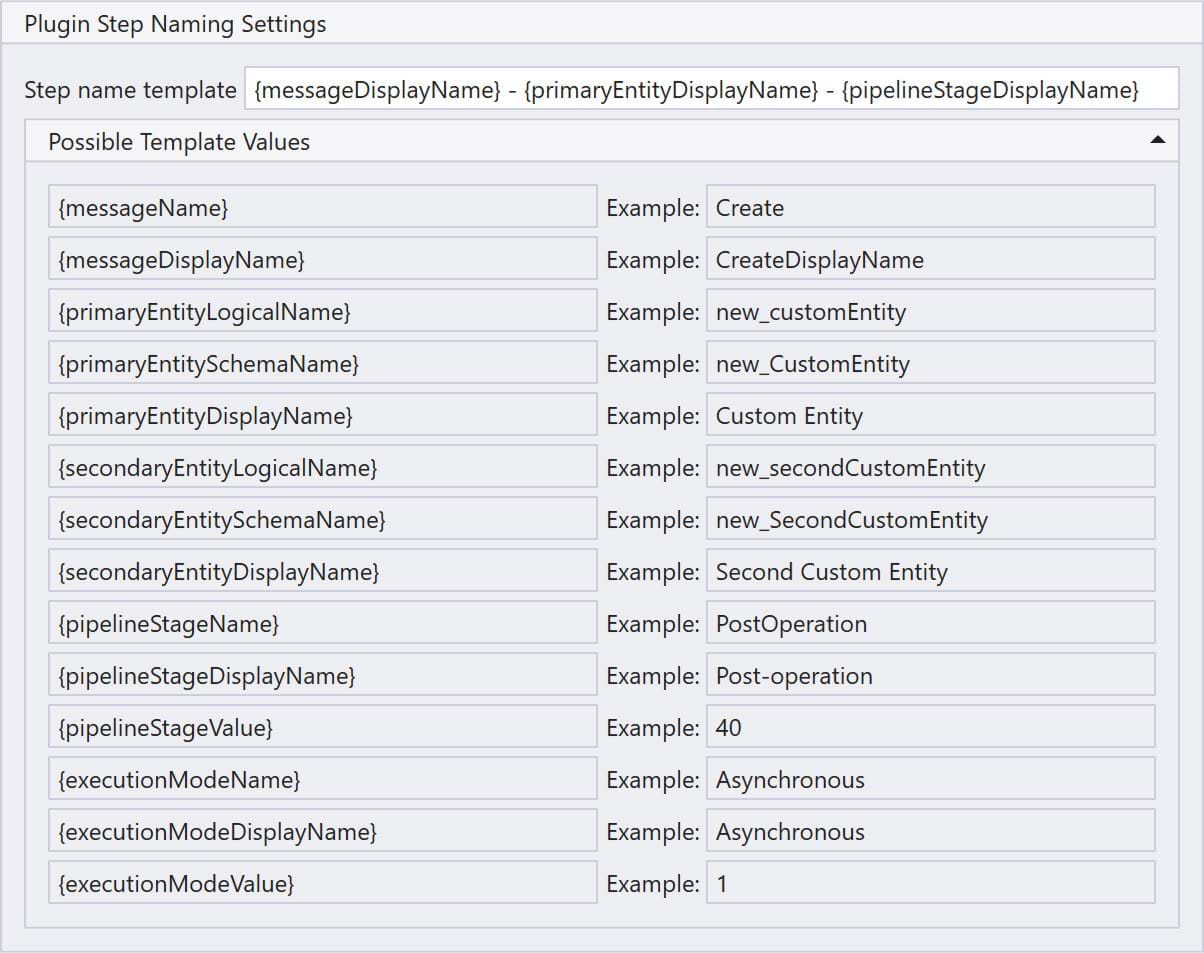
You can now provide your own template that will be used when automatically generating the name of a plugin step. When you register a single step, the 'Name' of the step is generated from this template, but you still have the ability to modify the name before final registration. Where you really see the benefit is when you use the 'Register Multiple Steps' dialog where each step will automatically follow the naming template.
You can define this template at the project or solution level. The window includes a collapsable area that displays all of the possible data slugs that can be used in the template:
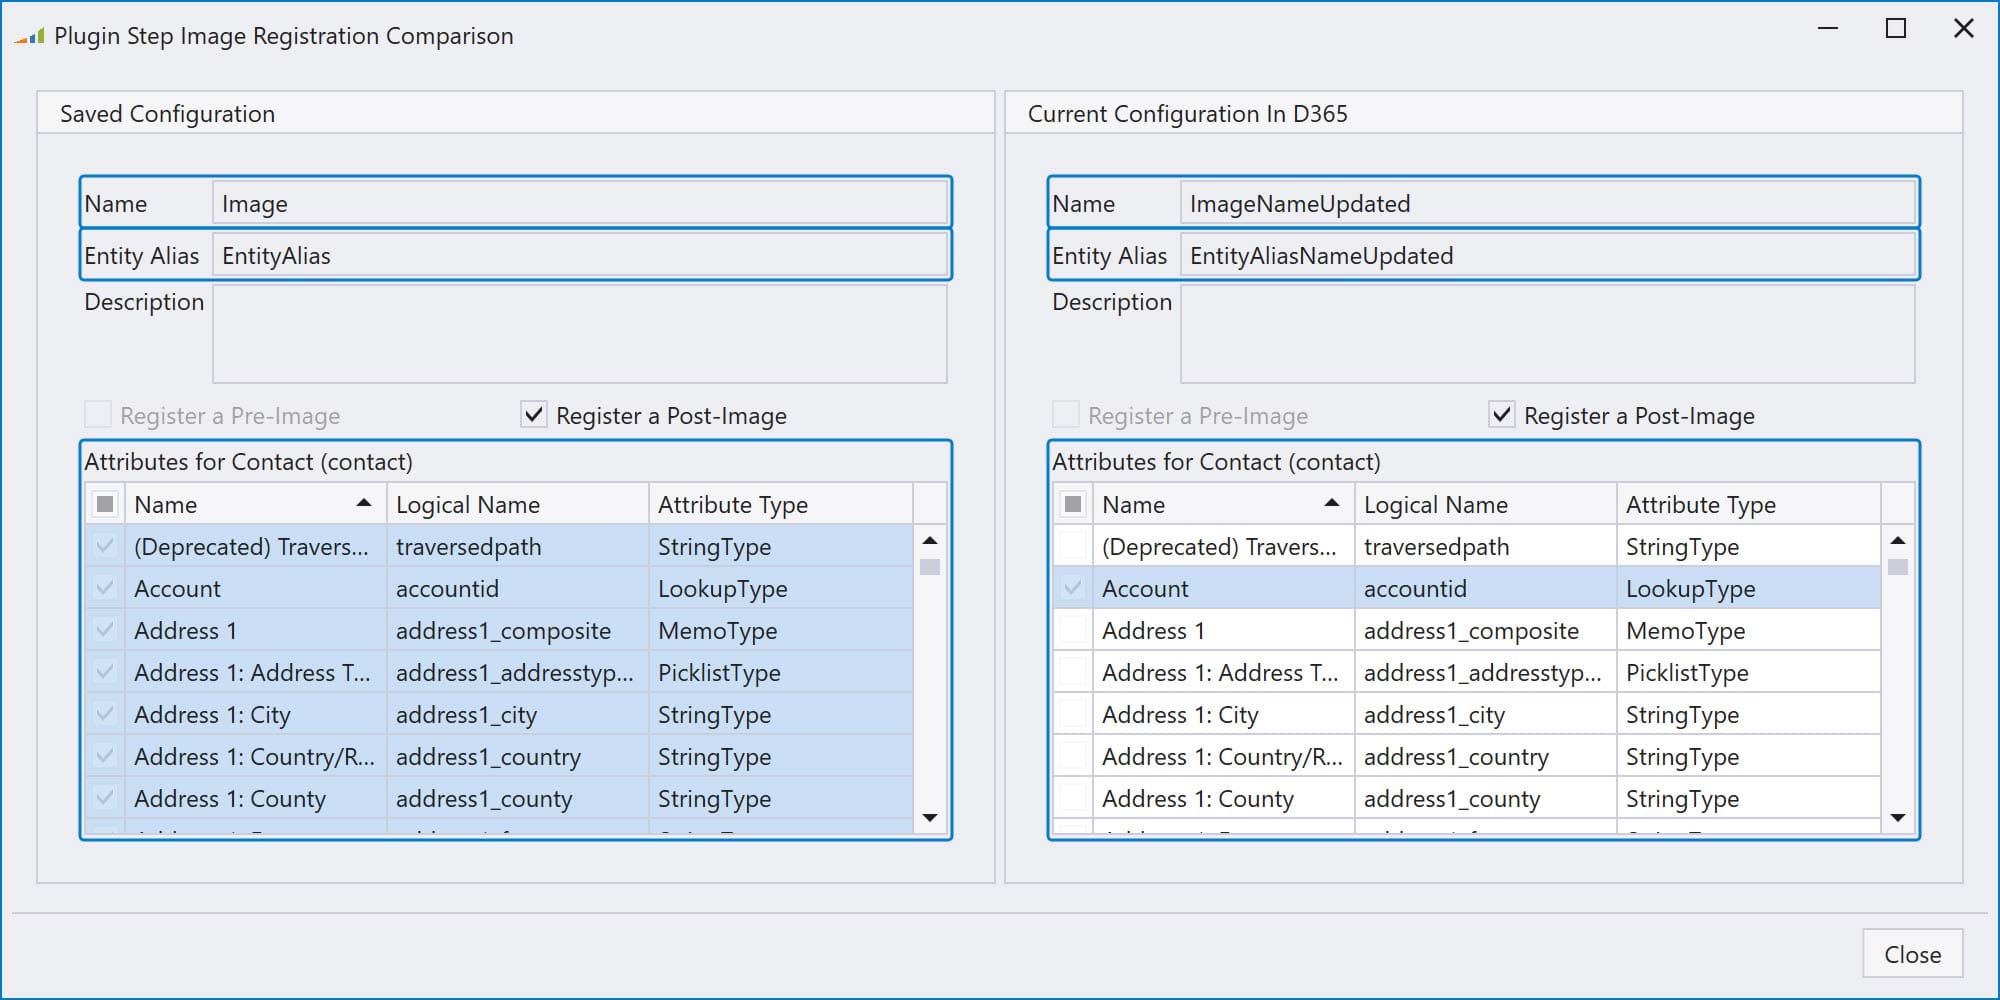
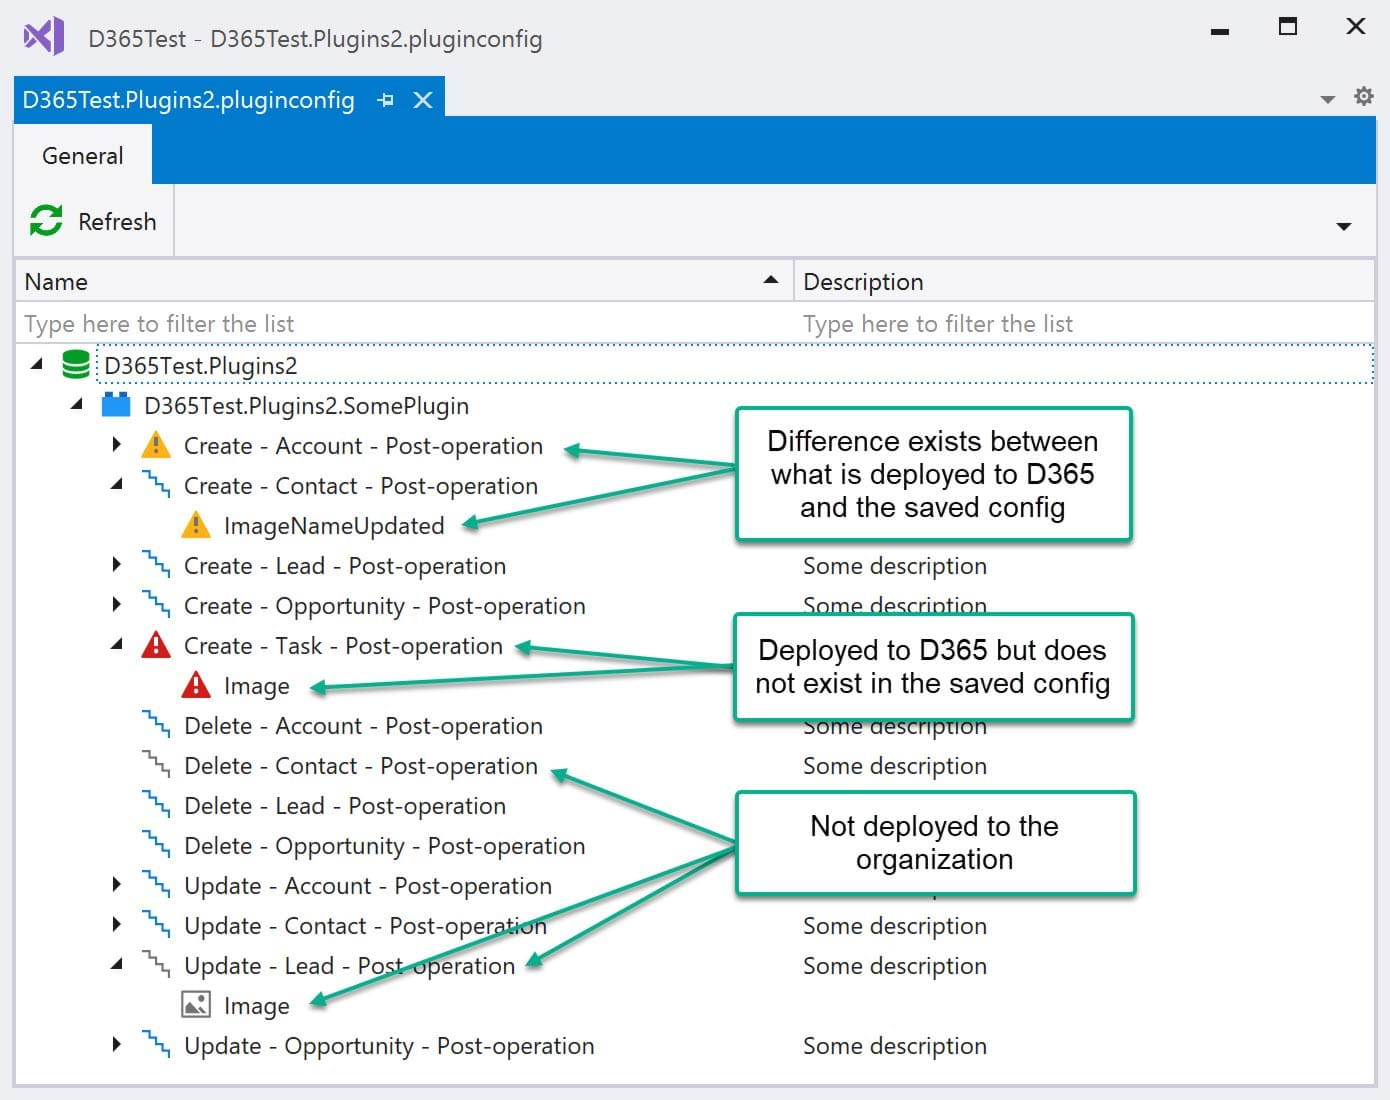
You can now easily see what differences exists between what is deployed to D365 and what is saved in the plugin assembly config file. Depending on the type of differece, you can register, update or un-register by selecting the appropriate row and finding the corresponding button.
When double-clicking on a row that contains differences, a window opens hilighting the differences by placing a blue border around the differences as seen here:
