There are many actions that you can perform at the project level, and many of them depend on what type of project you want to work with. To see which options are available, right-click on the project node in the Visual Studio Solution. The available options will display in the 'CRM' menu:

You can learn more about project type specific actions by reading their documentation here:
Some actions are common among some or all projects. They are:
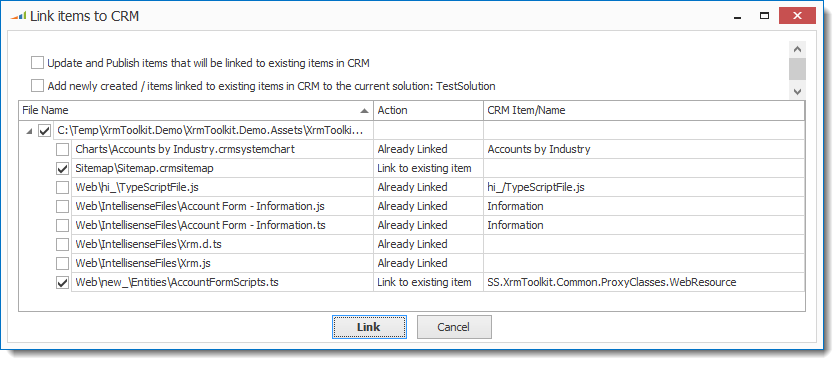
You can link multiple items in your Visual Studio solution at the same time using this option. Pressing this button will bring up a window showing all the possible files that could be linked to CRM and allowing you to create new items in CRM or link to existing items in CRM.

This option allows you to download all items that are linked to CRM. This is helpful if some changes have been made in CRM since the last time your local files were downloaded. A warning message will let you know that by downloading the files, any local changes will be overwritten:

This option allows you to update CRM with any changes that have been made to any of your local files. Please note that this option does not publish any changes to CRM. You must use the 'Update And Publish All Items' method if you would also like to publish your changes at the same time.
Similar to the 'Update All Items', this option updates any linked items in CRM with your local changes. After updating all the linked items in CRM, the 'Publish All Customizations' method is called in CRM. Please note that this will publish any and all customization changes in CRM, not just the ones that were just uploaded by XrmToolkit.
When other CRM organizations are linked to the same Visual Studio solution, this option will appear allowing you to switch between the different organizations.
This option removes the link for the project and all links to any items within the current project. To re-link the project or any items within the project you can follow the directions for the specific project type in the links above.