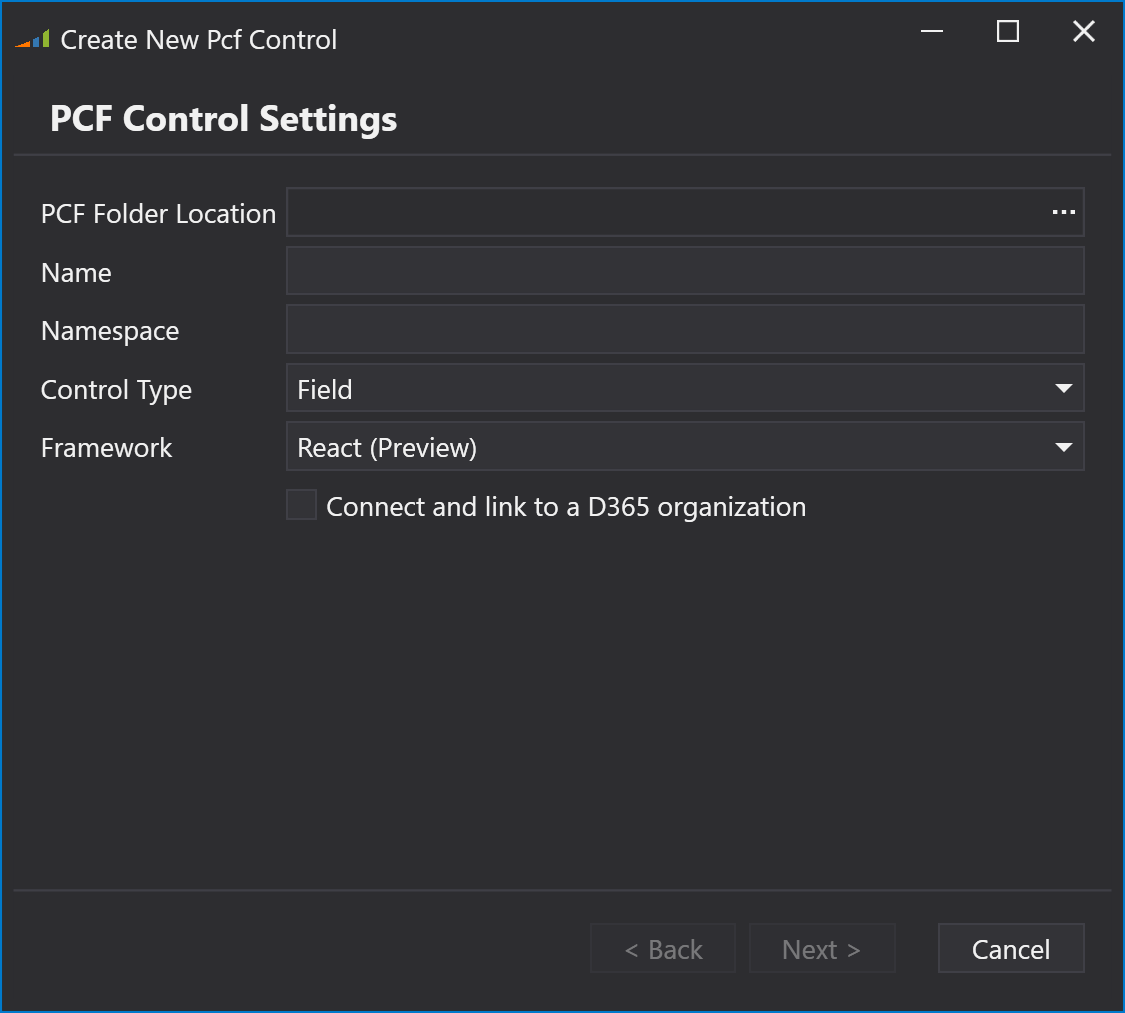
To create a new PCF control project, use the main XrmToolkit menu

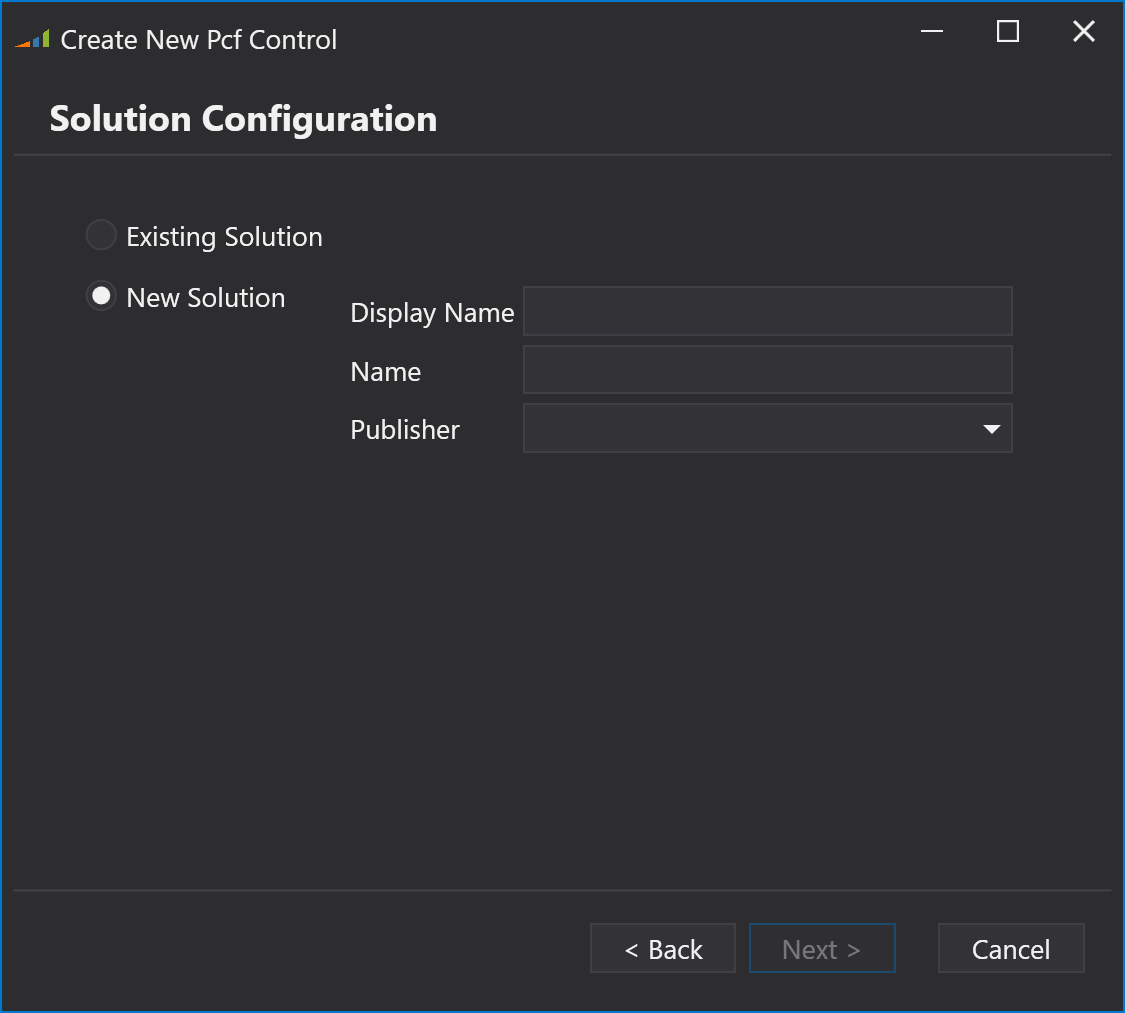
After filling out all the fields in the dialog, you can optionally choose to link the PCF project to an instance in Dataverse. After connecting to Dataverse, you will be promted to either select an existing solution or create a new one. Your PCF control will be added to this solution upon publishing to D365.
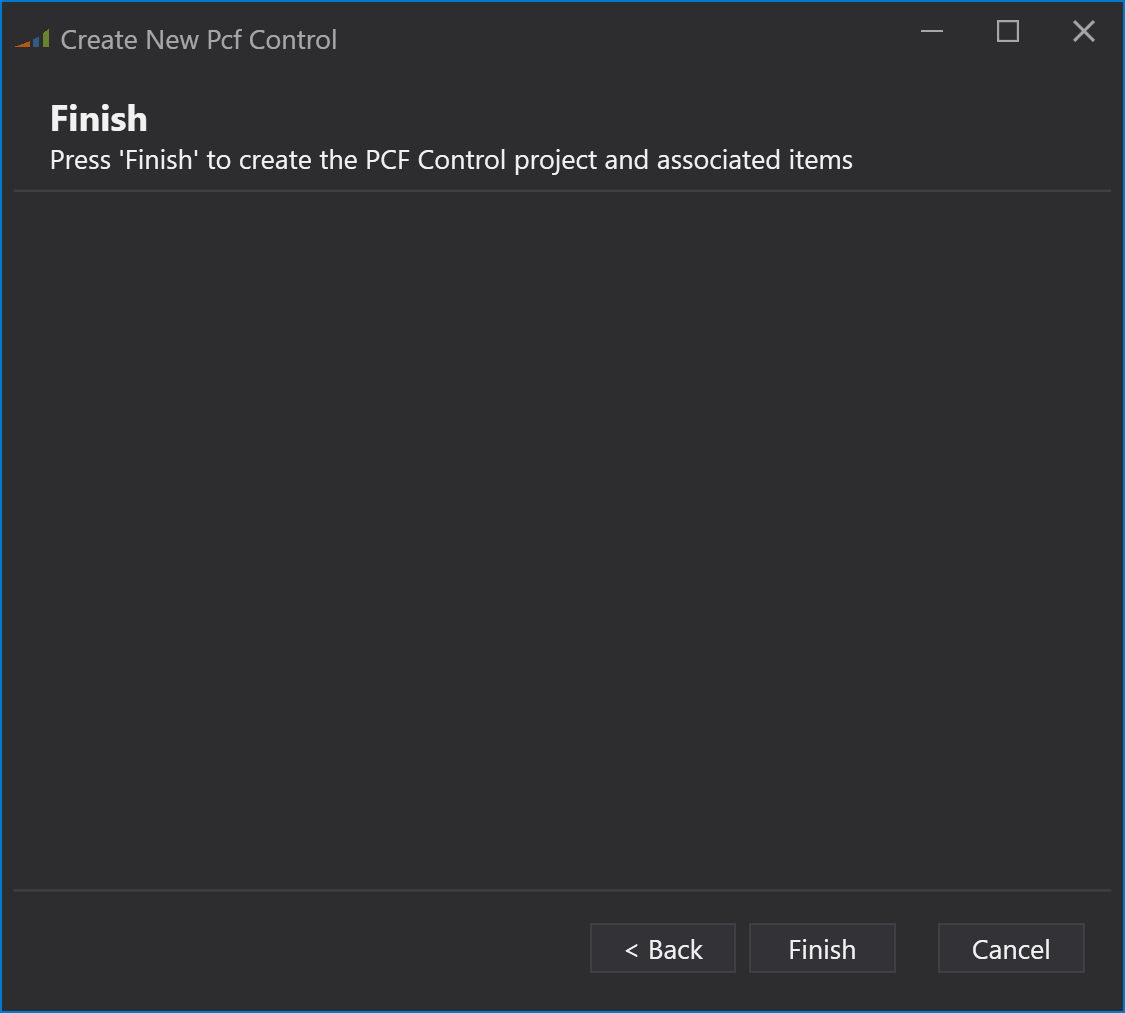
A page to complete the wizard will be presented, and upon pressing the 'Finish' button, your project will be created.
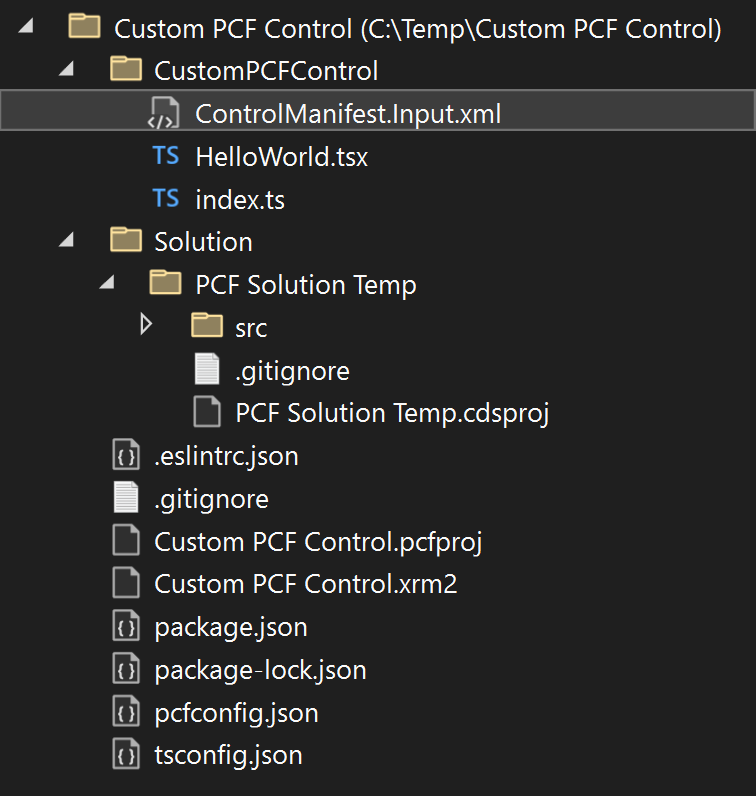
When the folder loads in Visual Studio you can see all of the assets including the ControlManifest.Input.xml file. Double clicking on it will open the editor included with XrmToolkit for easily modifying the different properties of the file. For more information see the documentation here.
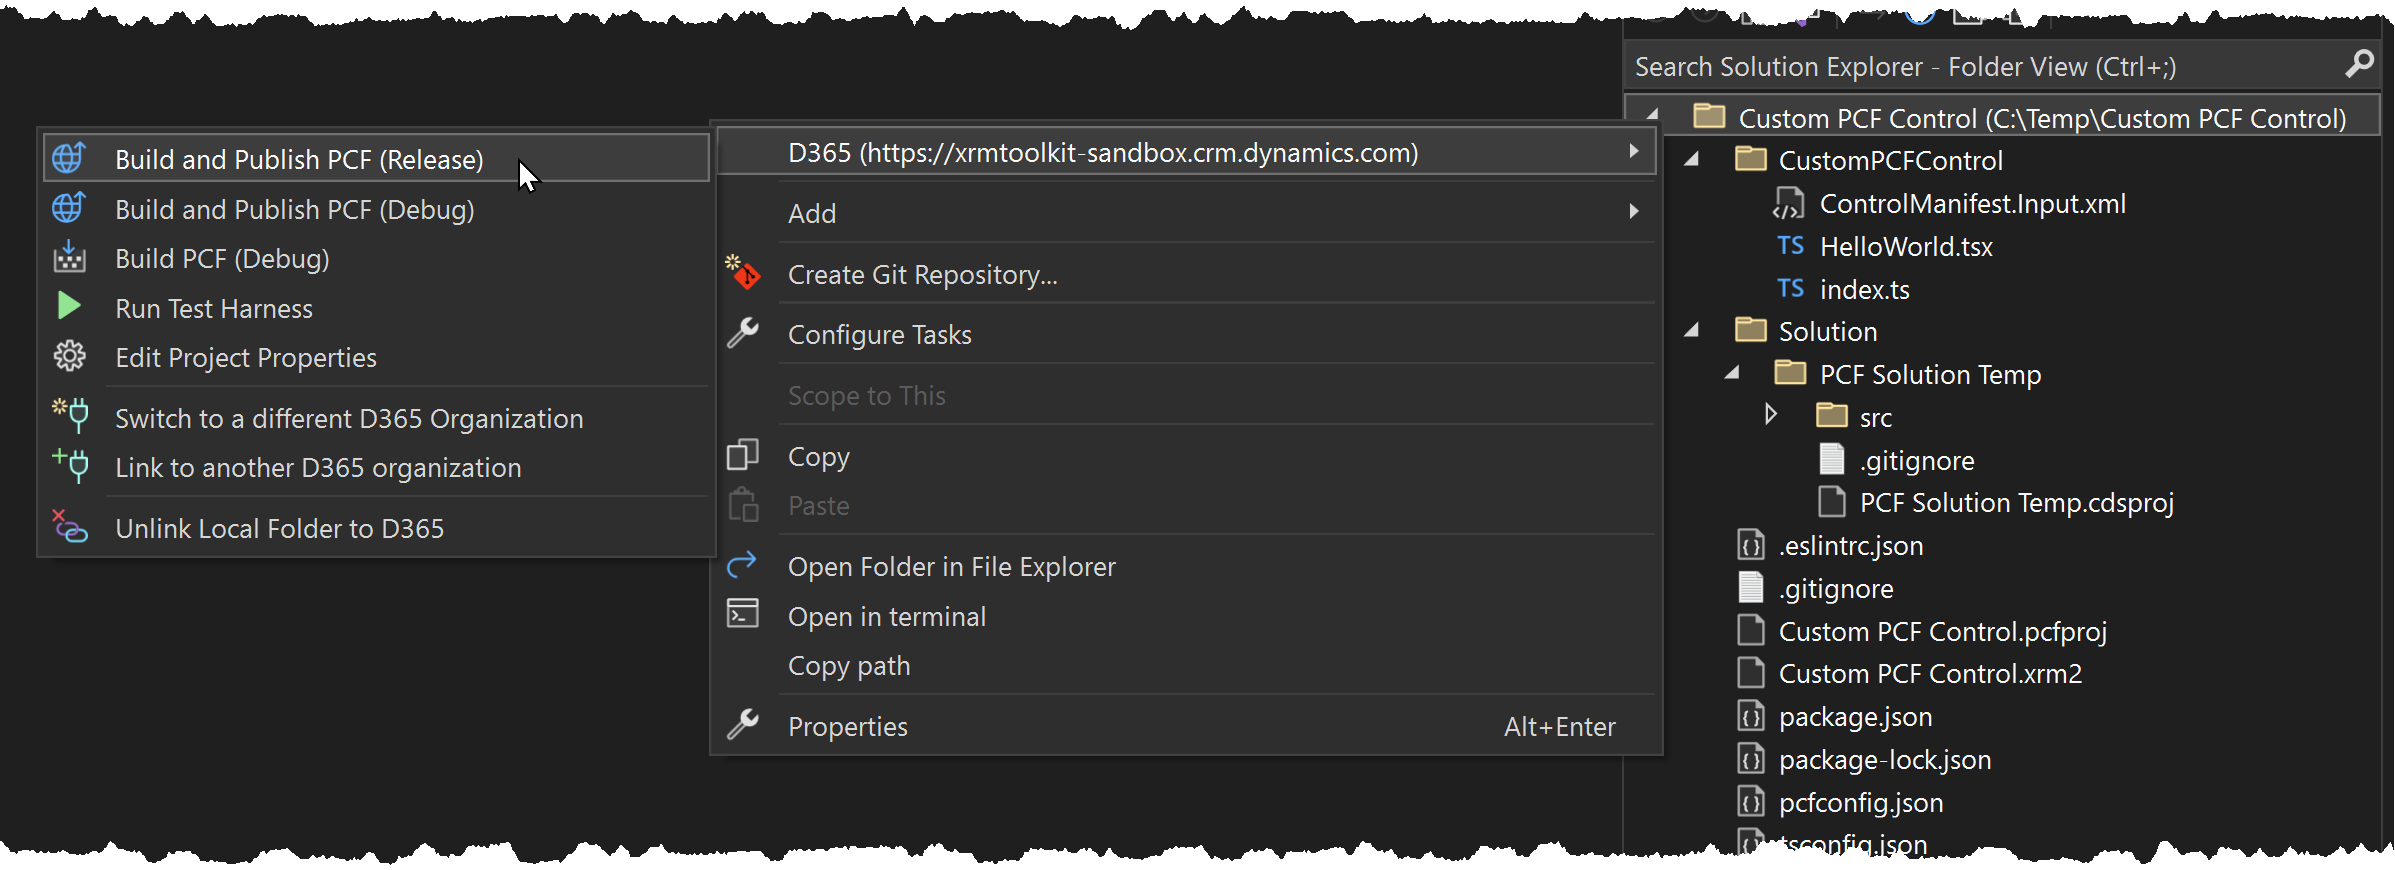
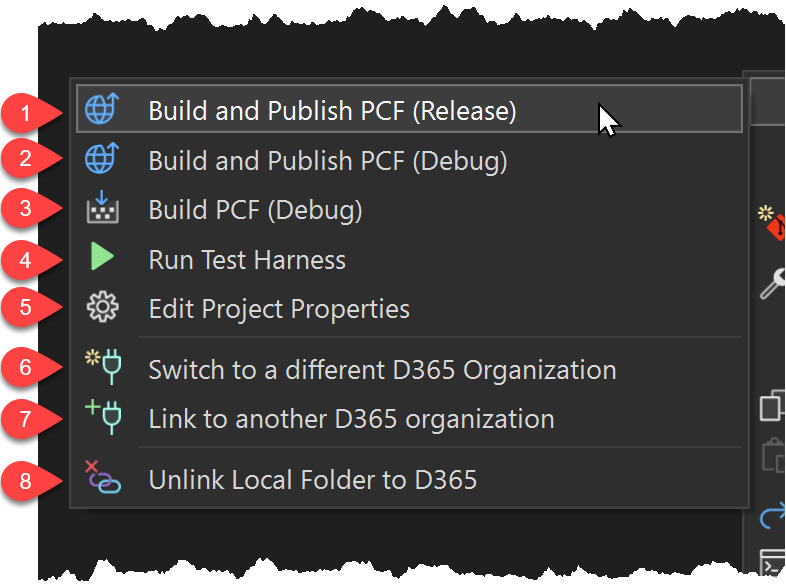
Right-clicking on the main project folder displays the following menu:
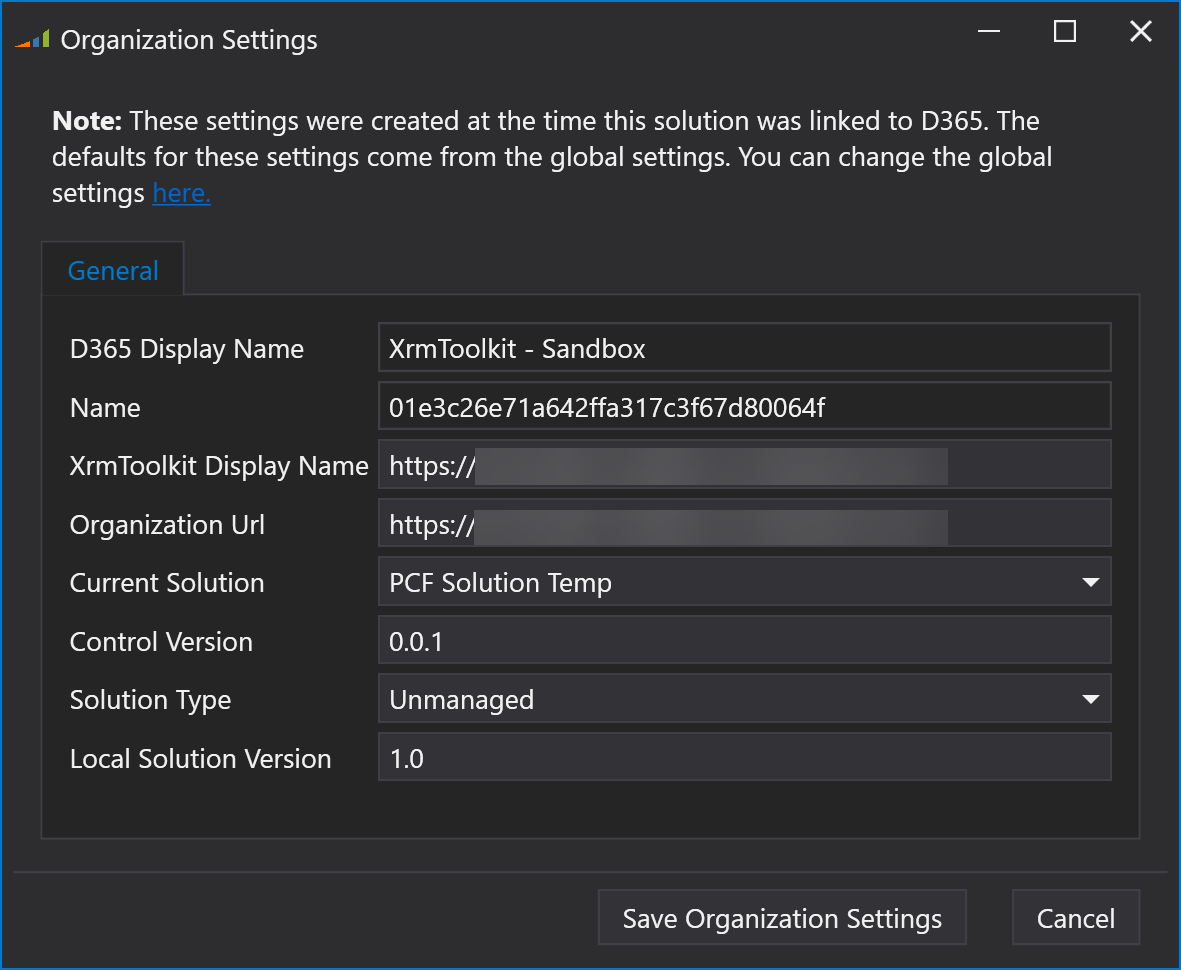
Opening the 'Project Properties' for the PCF project displays a dialog for editing different aspects of the PCF project.