XrmToolkit uses the standard Visual Studio solution and project templates for organizing your Dynamics 365 Solution. XrmToolkit needs to create a link between your Visual Studio files and your CRM 2013, 2015, 2016 or D365 files. This is accomplished in one of 2 ways:
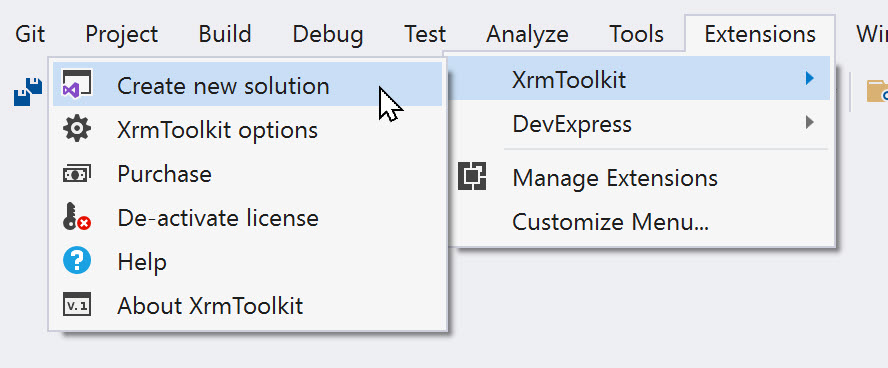
If you do not already have a Visual Studio solution that you are using, then the easiest approach is to use the 'Create New Solution' wizard.
Navigate to the 'XrmToolkit' menu item in Visual Studio and press the 'Create new solution' button.
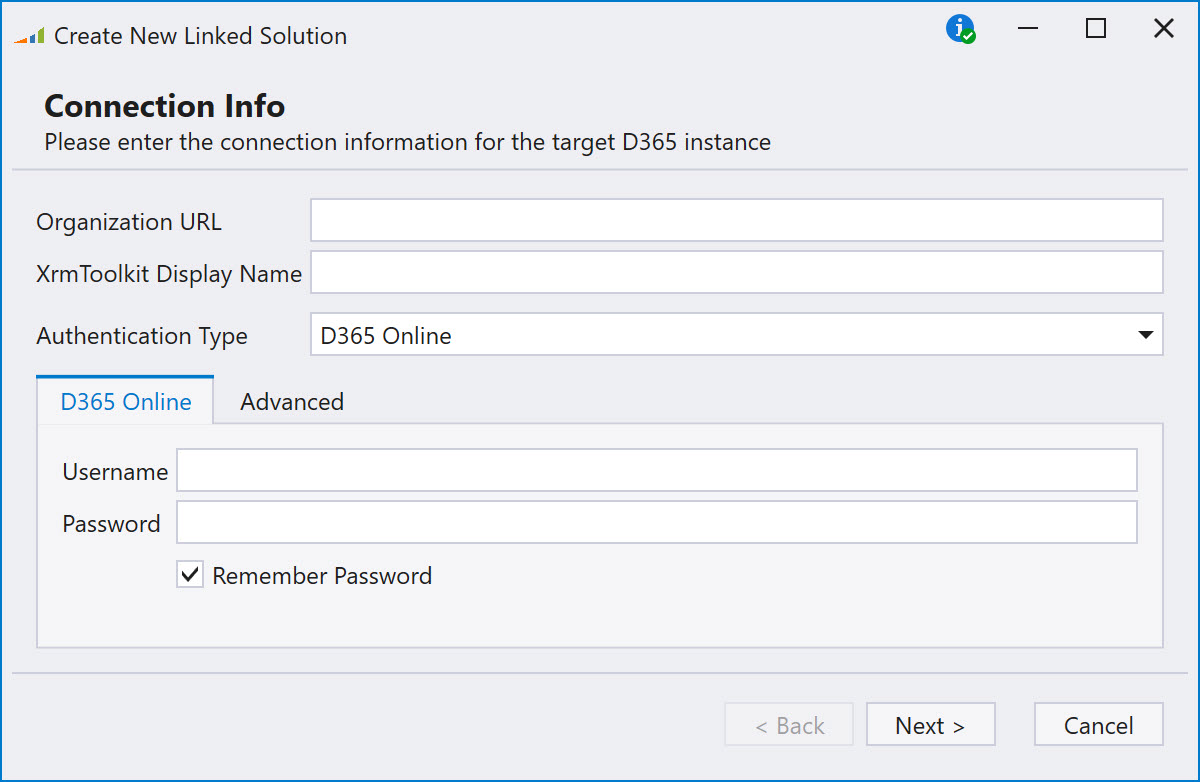
You will be prompted to enter in the Organization URL of your Dynamics 365 organization. This can be found by going to 'Advanced Settings' area in your organization. Then select the 'Customizations' Sub-Area and then the 'Developer Resources' link. The Organization URL is the outlined area in the image below:
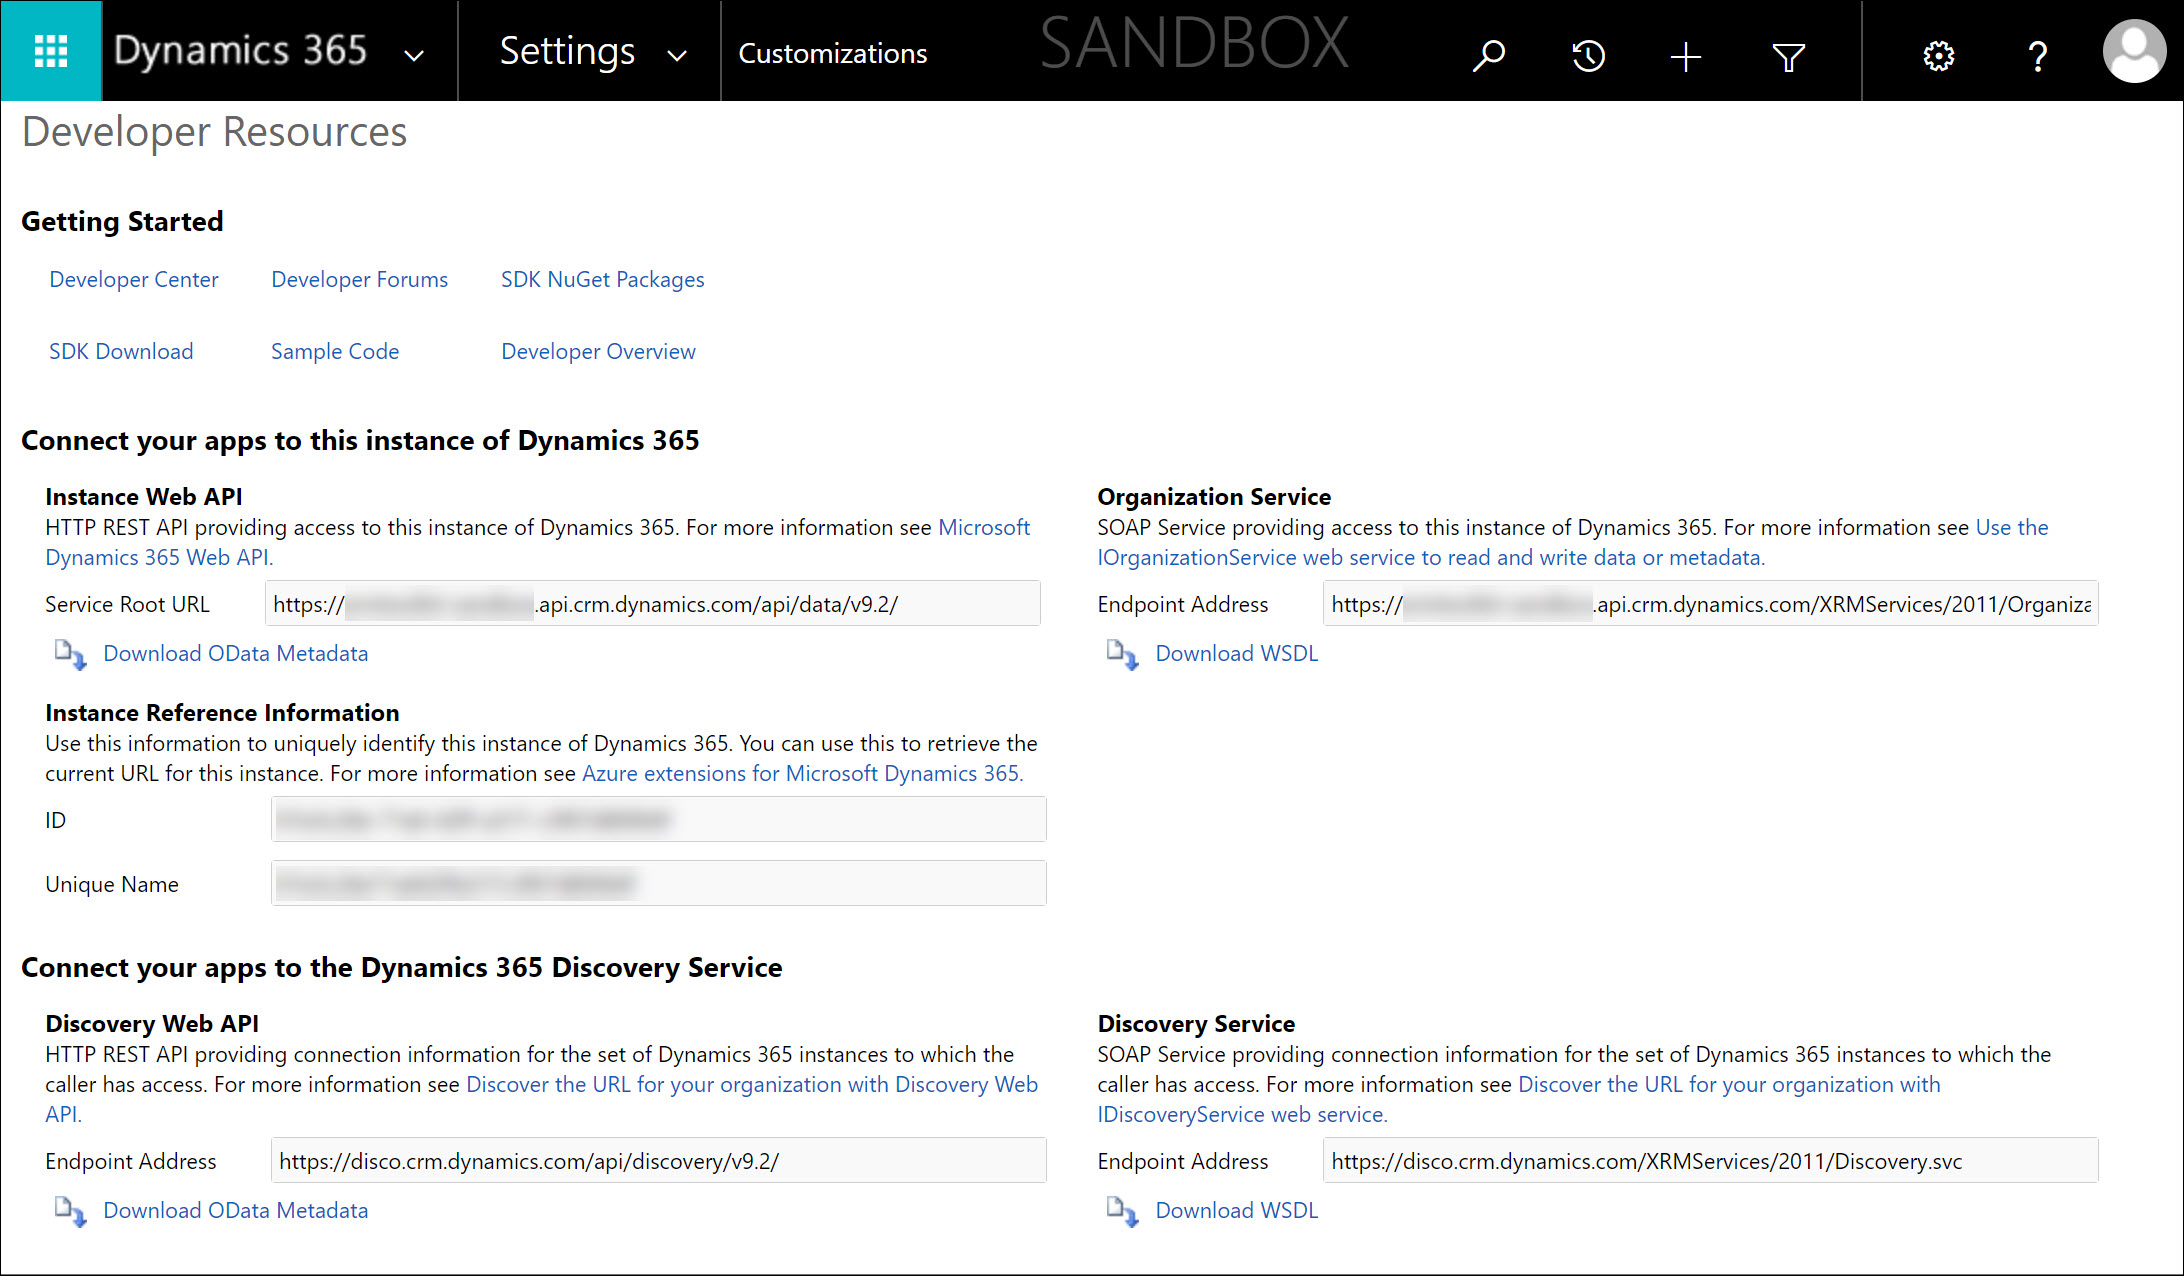
You can also see Microsoft's document regarding your Dynamics 365 organization's URL's here.
After filling in the appropriate information, you can choose to save your password by selecting the 'Remember Password' option. This will save your password in an encrypted file (see the documentation here regarding the XrmSuo file).
Press the 'Next' button to continue. XrmToolkit will attempt to connect to your organization based on the provided credentials. If you receive an error at this point please see our troubleshooting documentation here.
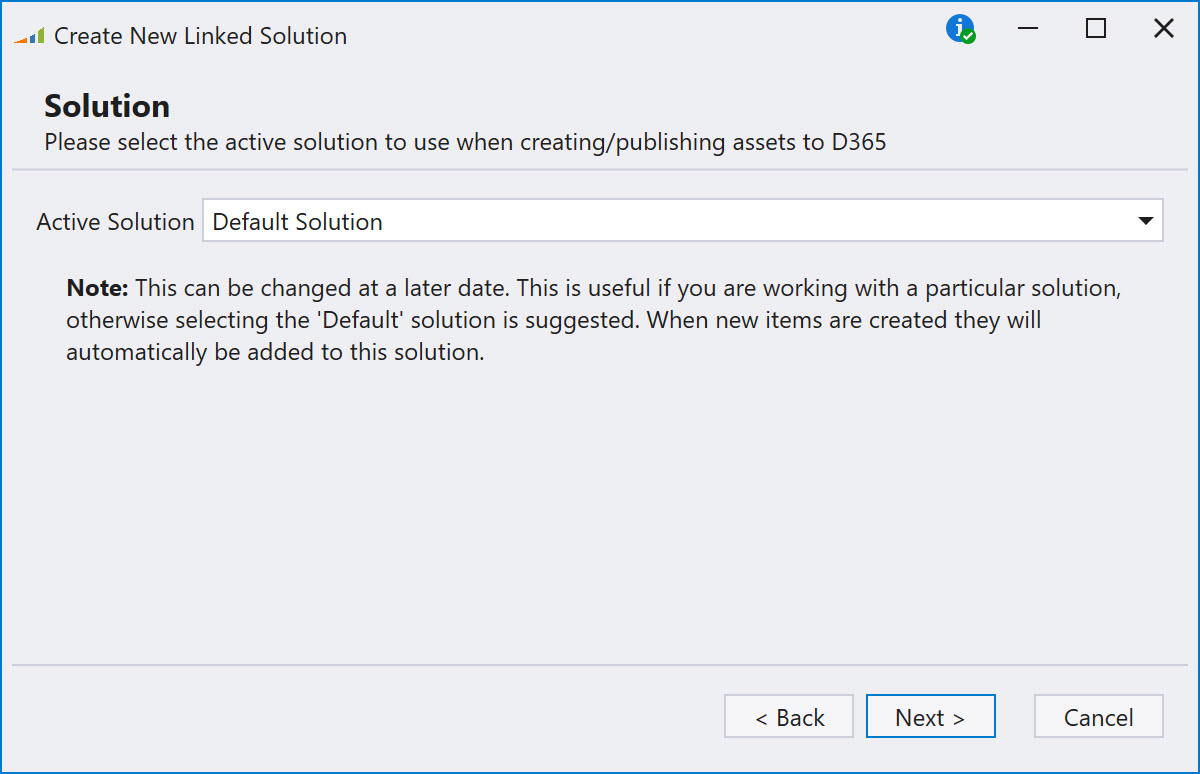
At this point you will be asked to select a solution in your organization. This solution is used as the default solution when downloading existing files from Dynamics 365, as well as the solution that XrmToolkit uses when you create new files and upload them to your organization. These new files will automatically be added to the solution selected here. You can modify this selection later by modifying the settings at the organization level. For more information see here.
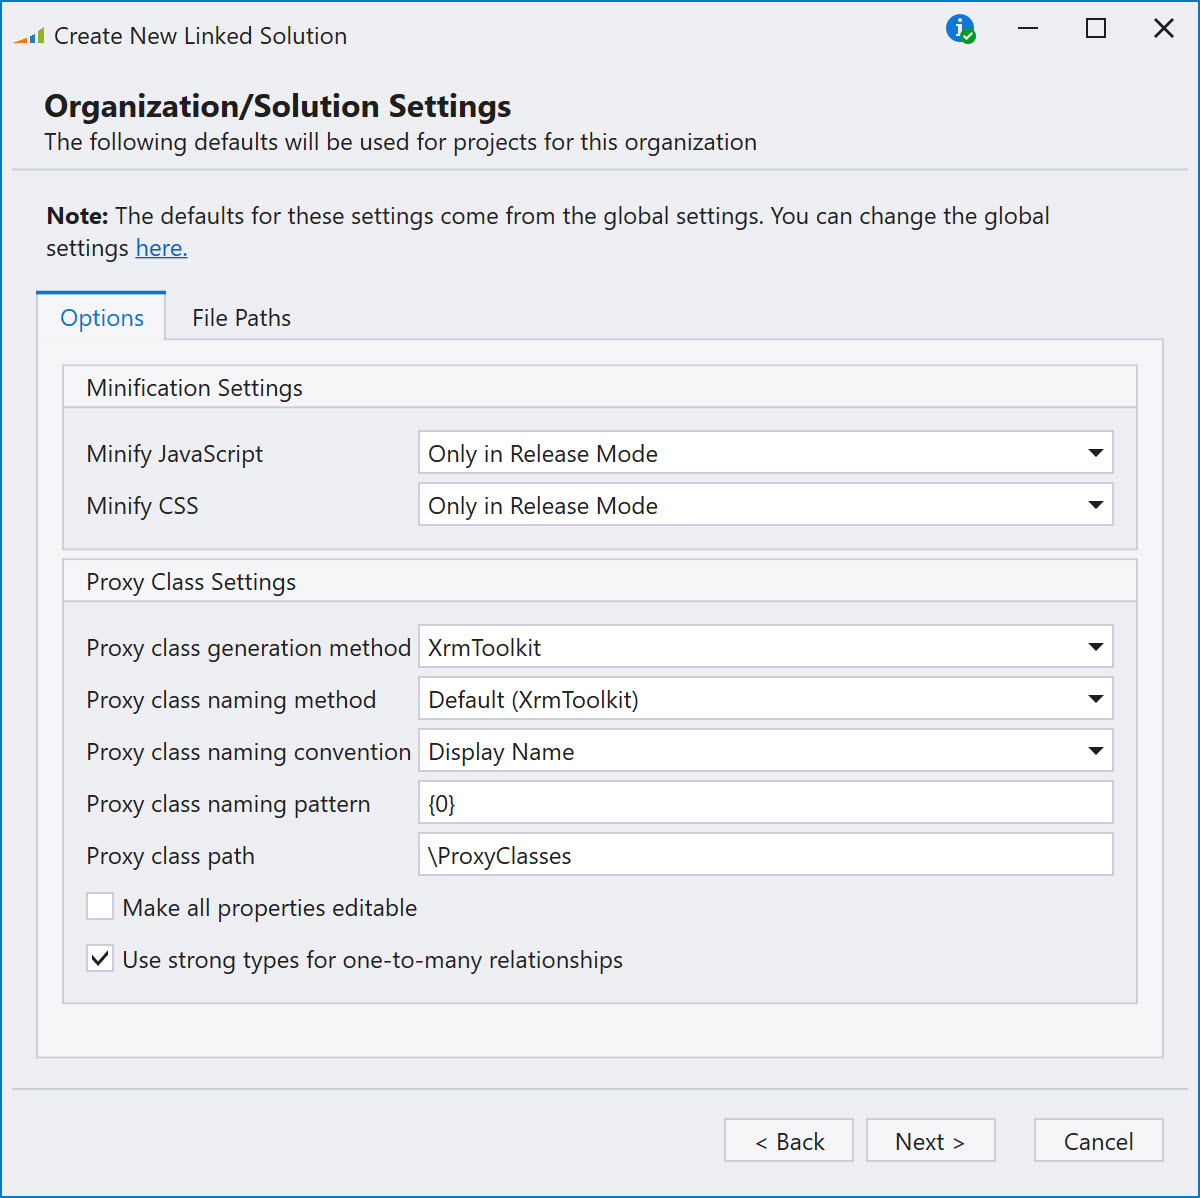
This page allows you to set the defaults that will be used for this organization for the solution that will be created. Subsequent projects that are created will default to these same options (with the ability to override them if desired).
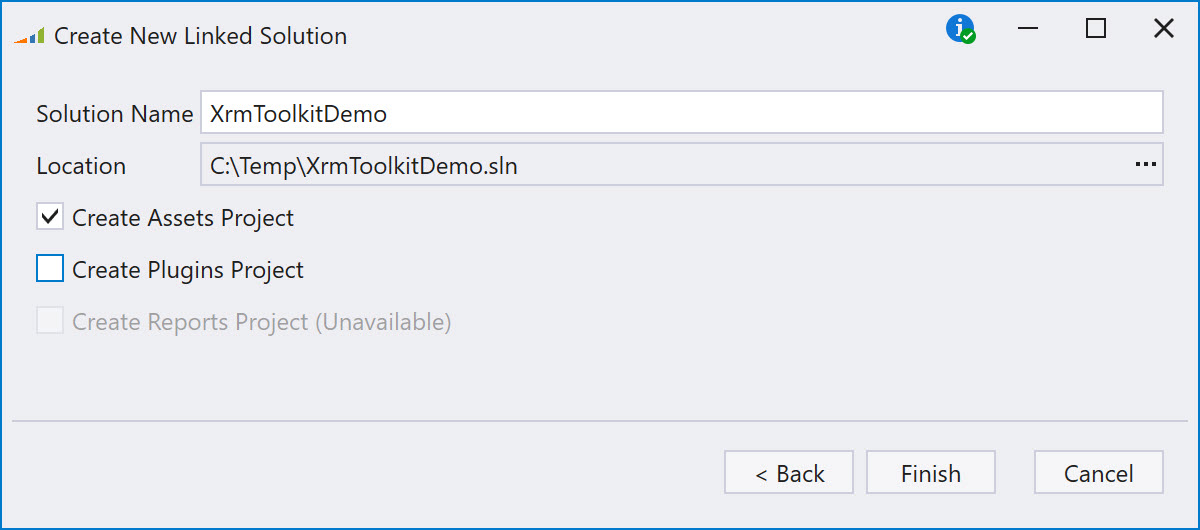
The next page allows you to set the name of the solution as well as choose what types of items you would like to create or download from your organization. A separate project will be created for each type that you select here.
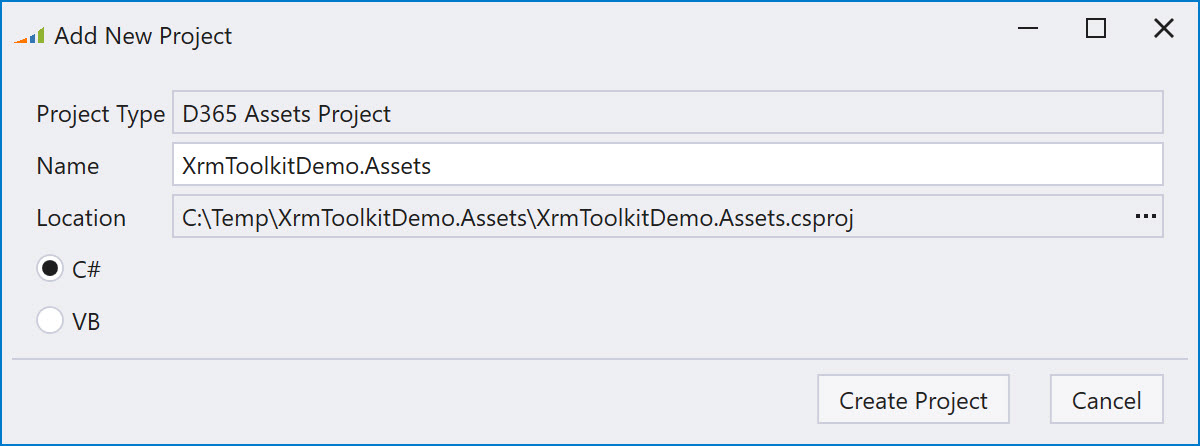
After selecting the types, press the 'Finish' button to continue. The solution will be created at this point and additional windows may be shown based on what types of projects you selected to create. The following demonstrates the window that is displayed when selecting the 'Create Assets Project'.
For more information on each of the different project types and how to set them up, see their respective documentation:
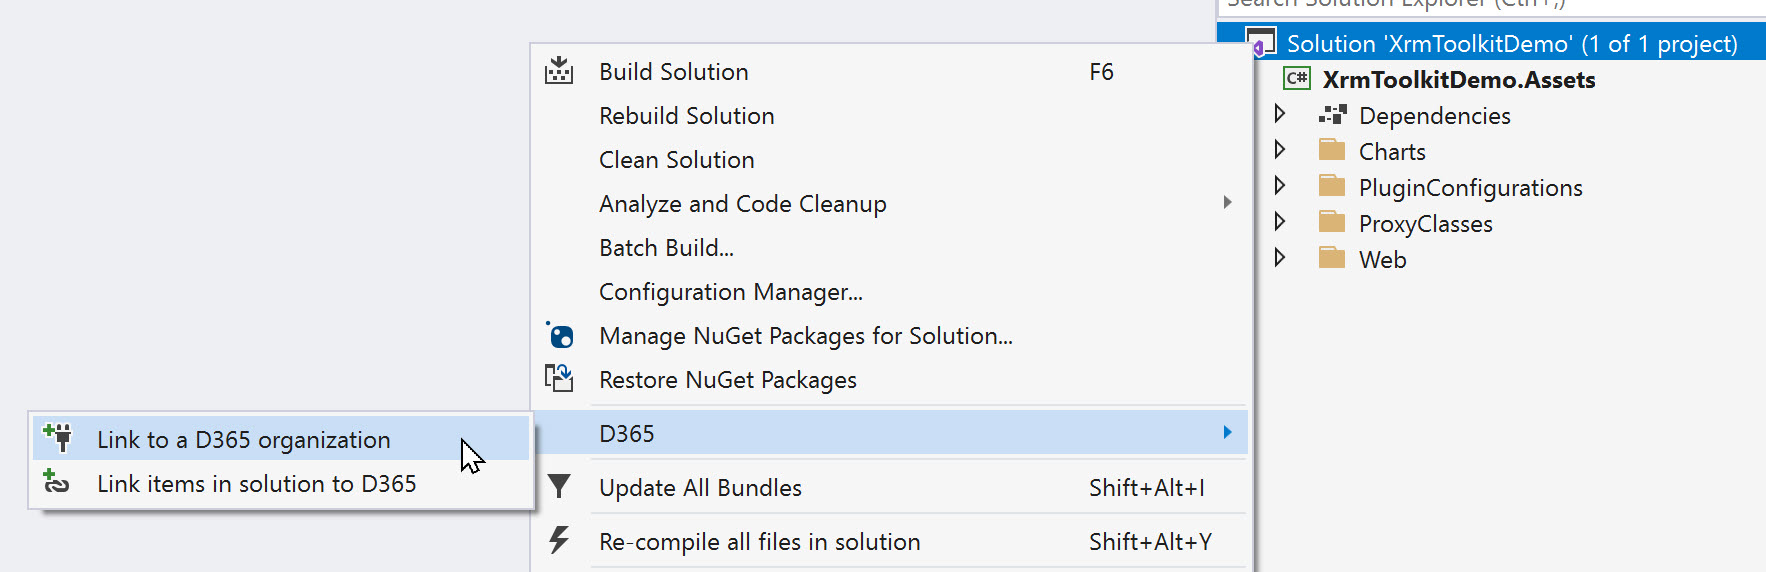
If you already have a Visual Studio solution containing CRM files, you can link this Visual Studio solution to CRM. To do so right-click on the solution node in the Visual Studio Solution Explorer. Select either the 'Link to a D365 Organization' or 'Link items in solution to D365' buttons found under the 'CRM' sub-menu as shown here:
Doing so will initiate the same connection wizard shown above here. After completing the wizard your Visual Studio solution will now be linked to Dynamics 365 and optionally prompt you to link existing items in your solution.
