Once you have setup your project as demonstrated here, you can now register your custom plugins and workflows along with any steps or images that you require.
XrmToolkit follows the same principles as outlined in the CRM SDK for registering plugins and workflows. To learn more about these topics please see the SDK help files or the CRM website:
You can access the window to register plugins by one of two ways. There are context menu buttons at both the project and solution level in the Solution Explorer
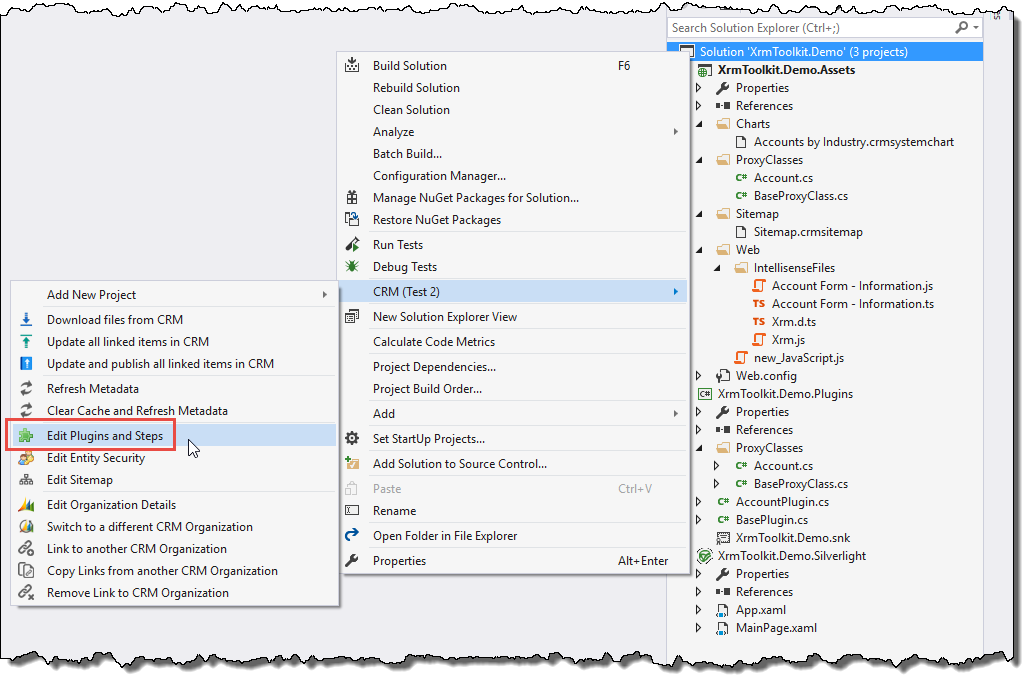
By accessing the menu item at the solution level you will see all the assemblies registered for the organization. If you use the menu item at the project level then you will only see the current projects' plugins and workflows.
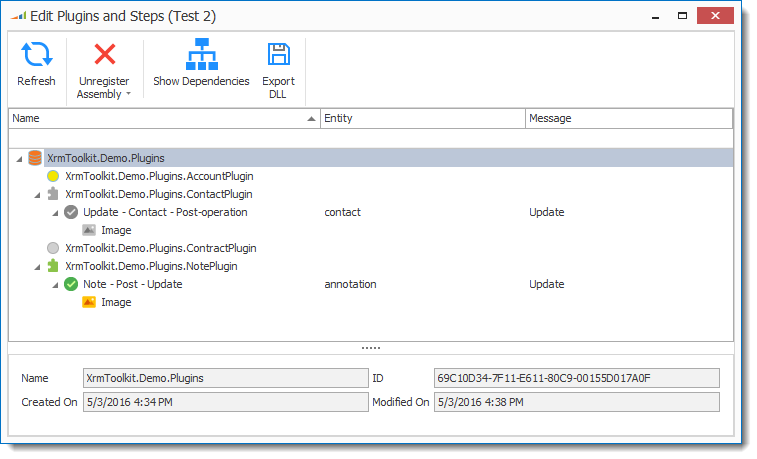
Starting with v4 there is a new concept around registered items and configuration items. Items that are colored are registered in the CRM Organization. Items in gray-scale are configuration records that have been setup with all the necessary information to become registered but have not yet been. Also, when un-registering an item, the configuration remains in-tact allowing you to easily register the item again. The following is a key that you can follow to identify whether an object has been registered or is just a configuration record.
The following can be performed using the plugin registration tool:
Registering multiple steps for different entities and different messages is possible using the 'Register Multiple Steps' button. The following window demonstrates registering a single plugin for multiple entities and messages.
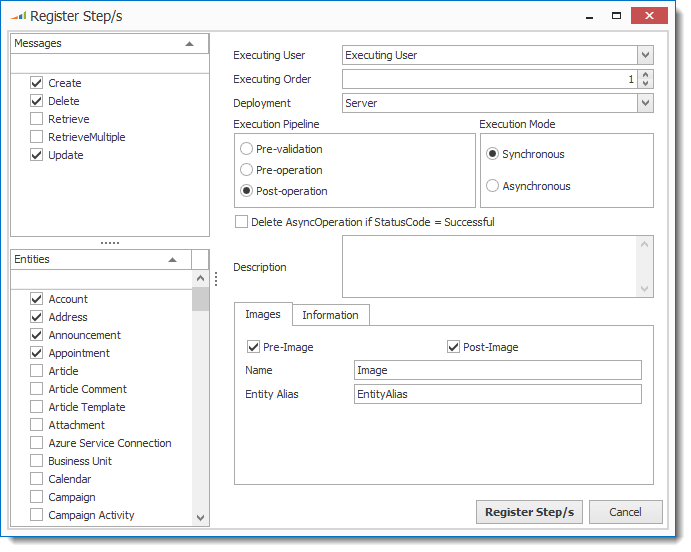
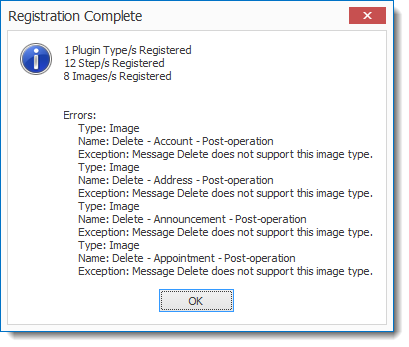
After pressing the 'Register Step/s' button for the preceding screen you will notice that 12 steps were registered but only 8 images. This is due to the fact that you cannot register images on a post operation delete step.
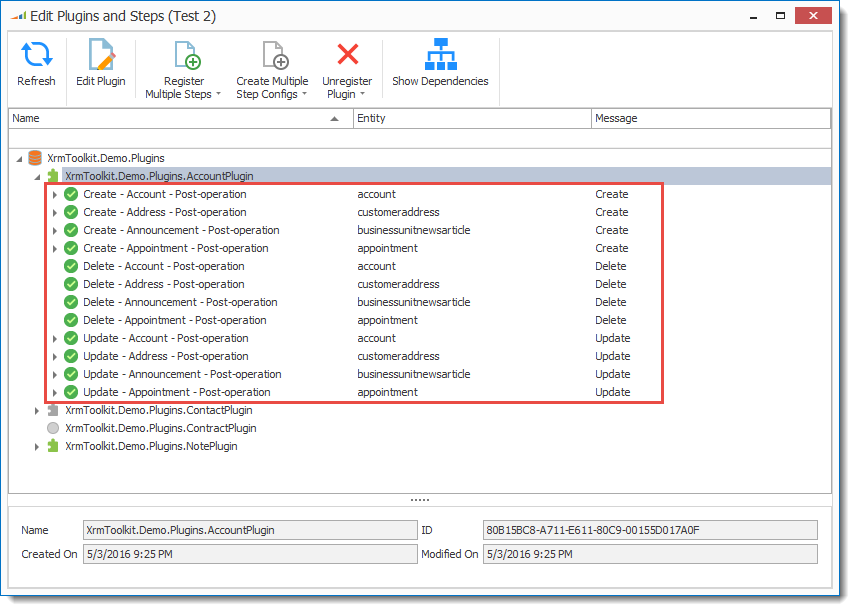
The main window shows all the steps and images that were registered:
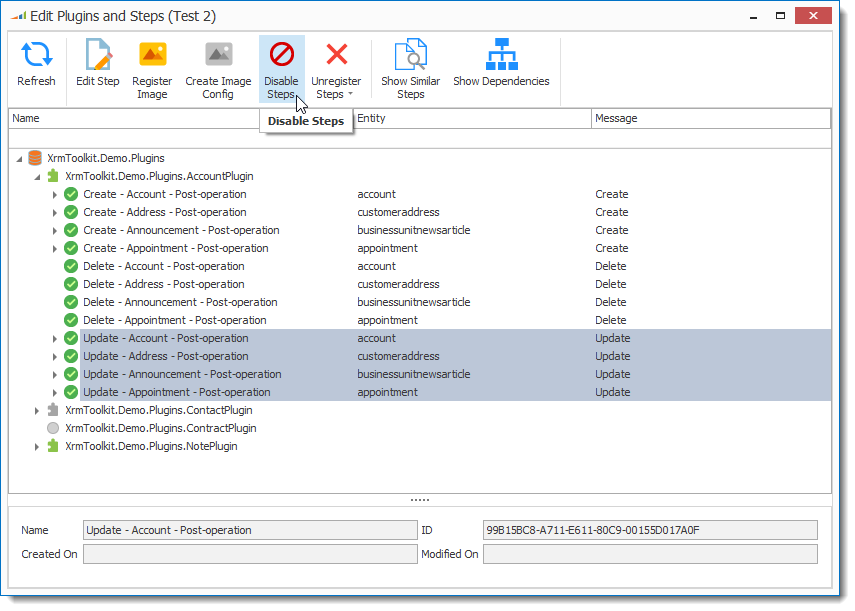
You can also disable or un register multiple steps at once by holding either the shift or ctrl key while selecting them.
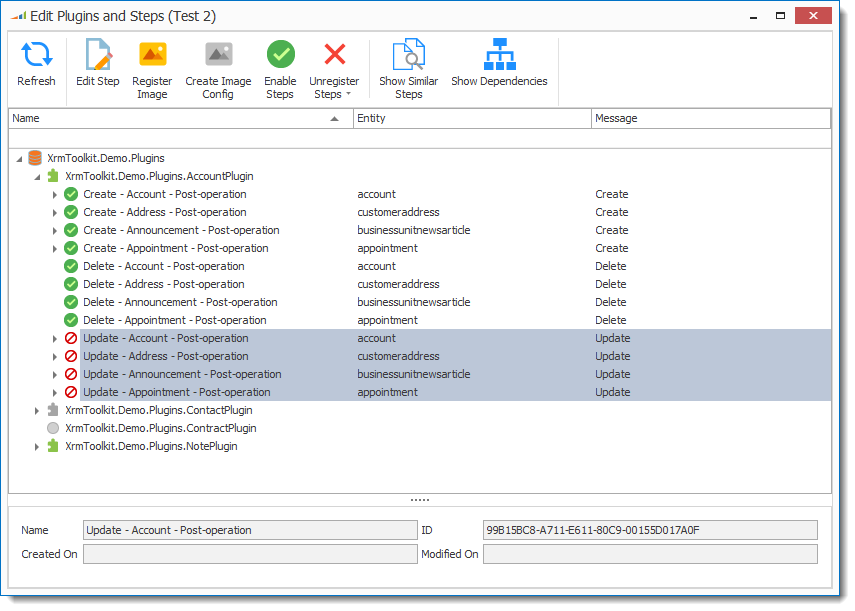
The following image shows the 3 steps now disabled.
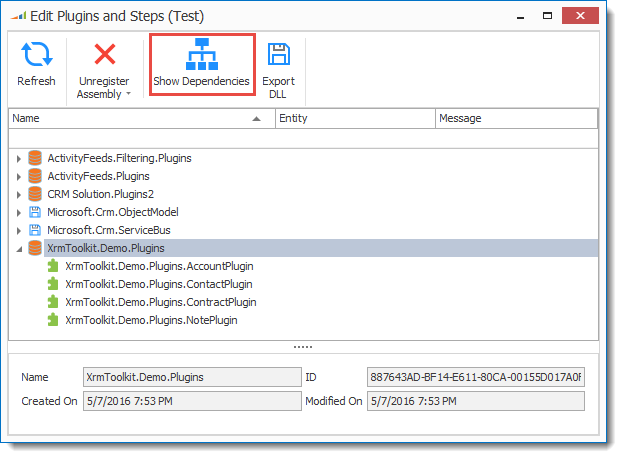
Pressing the 'Show Dependencies' button will query CRM to see what the selected component is dependant on. This is helpful if you need to unregister a plugin or workflow and need to know which workflows reference the custom assembly. Pressing the button will show a dialog similar to this:

You can export the assembly DLL if it is registered in the database. Simply select the assembly node and press the 'Export DLL' button:
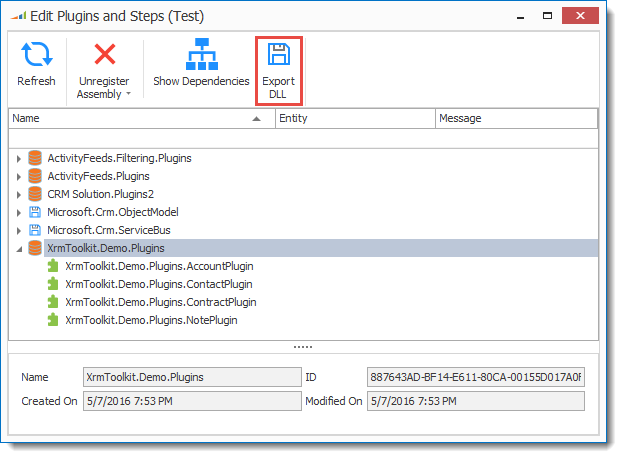
You will be prompted to select a location to save the DLL to, after which the assembly will be downloaded and saved to that location.