The following context menu is displayed when right-clicking on the project node of an SSRS project that has not yet been linked to a CRM organization:
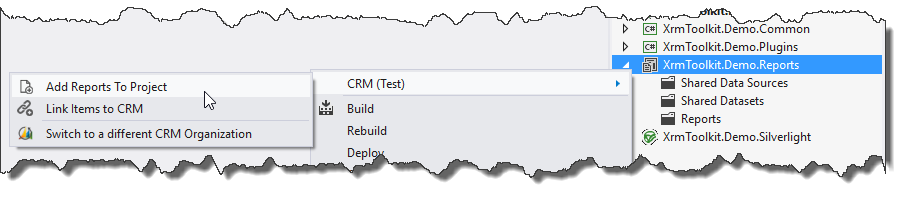
By pressing the 'Add Reports to Project' button a windows similar to the window for a web resources project will appear:
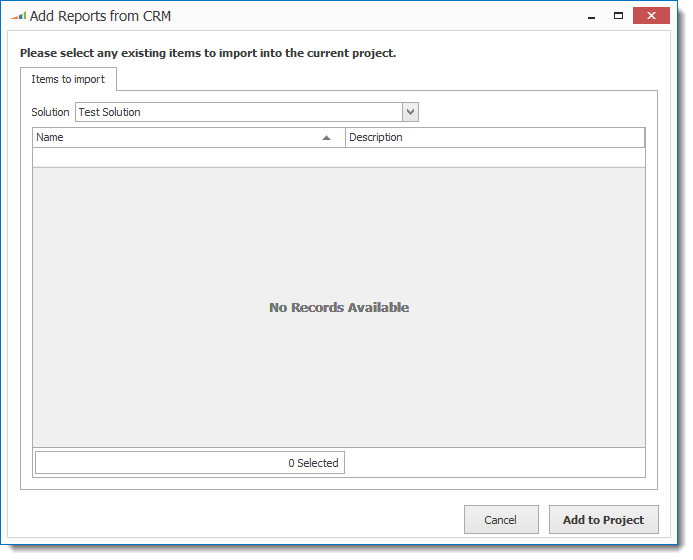
Similar to a web resources project, only the reports that are part of the currently selected solution will appear. To select reports from the default solution or another solution, change the value in the solution dropdown to the desired solution. Doing so will reload the items in the window:
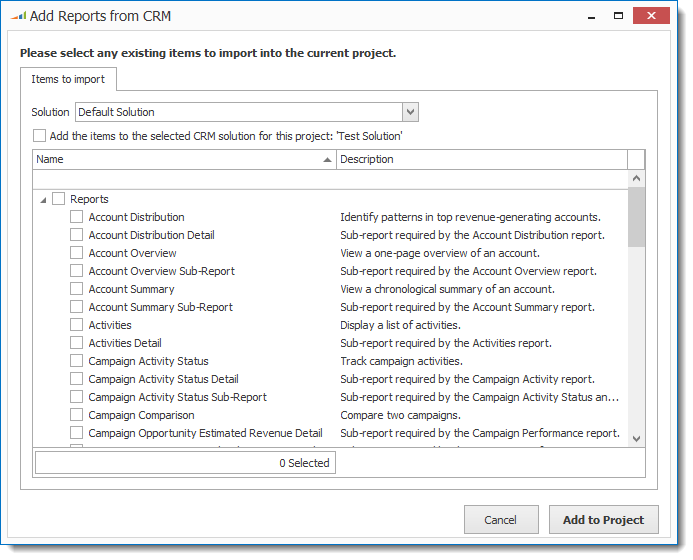
Selecting the 'Add the items to the selected CRM solution for this project' checkbox will automatically add any selected reports to the default solution for the currently linked CRM organization. For more information see here.
After selecting the reports that you would like to generate, press the 'Add to Project' button to begin the download process. Once complete, the reports will now be downloaded and linked to your CRM organization.
